![]()
![]()
|
"SportVue MC2 Install" | |||||||||||||||||
 |

SportVue images and technical data provided by SportVue | ||||||||||||||||
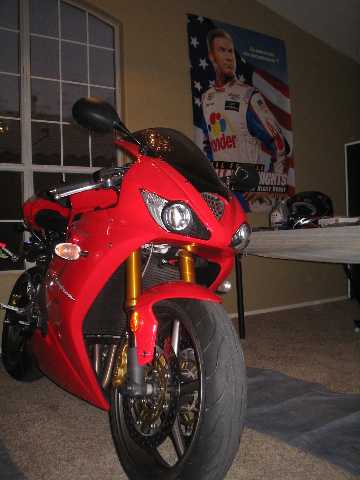
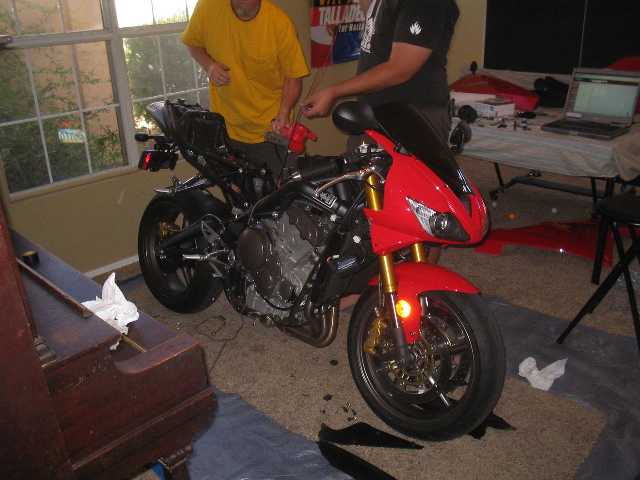
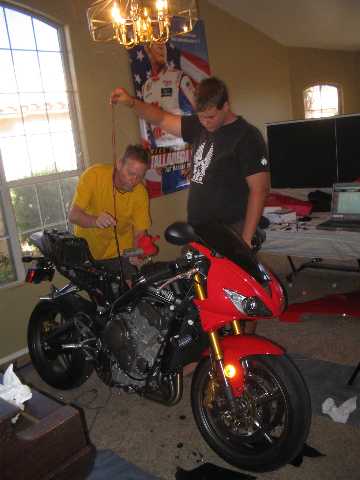
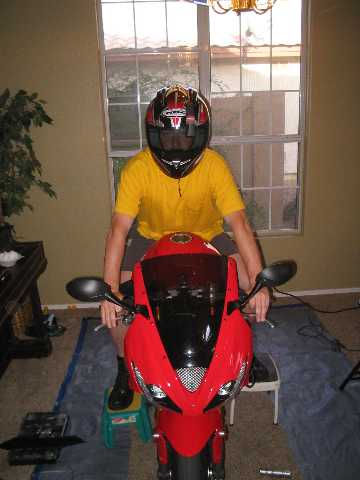
| This article covers the installation of the SportVue MC2 and the hardwire kit for the Escort 8500 X50 radar detector on my 2006 Triumph Daytona 675. We found a comfortable spot in my living room to do the work, under the careful eye of Ricky Bobby from Talladega Nights! :) | |||||||||||||||||
 |
|||||||||||||||||
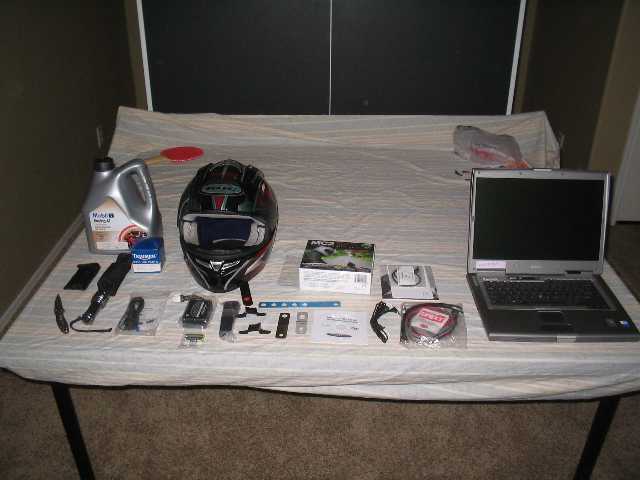
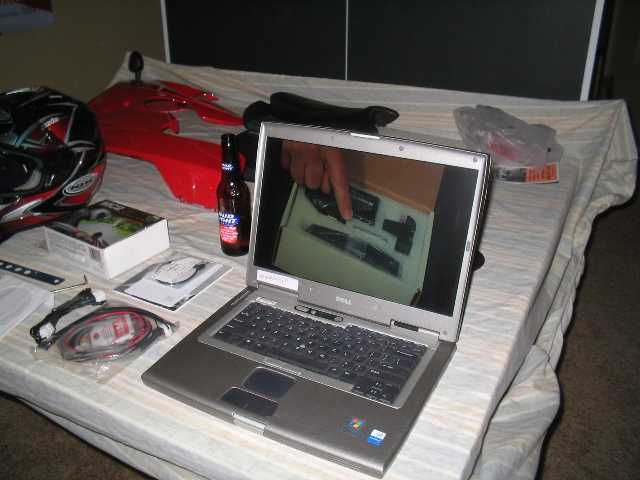
| The first thing to do after the UPS man dropped off the was to inventory all the parts I would be installing. I unpacked the MC2 box and made sure everything was there. Next I browsed the manual and familiarized myself with the installation. | |||||||||||||||||
 |
|||||||||||||||||
| I found a video CD in the box also. I put it in the laptop, fired up Windows Media player and watched the video. They sure made it look easy, so off we go! | |||||||||||||||||
 |
|||||||||||||||||
| Sean and I removed the fairings, gas tank, rear shroud and both seats so we could have access to all the wiring looms. We laid the MC2 MSU wiring loom out on the bike and the Escort 8500 hardwire loom to check routing and wire lengths. | |||||||||||||||||
 |
|||||||||||||||||
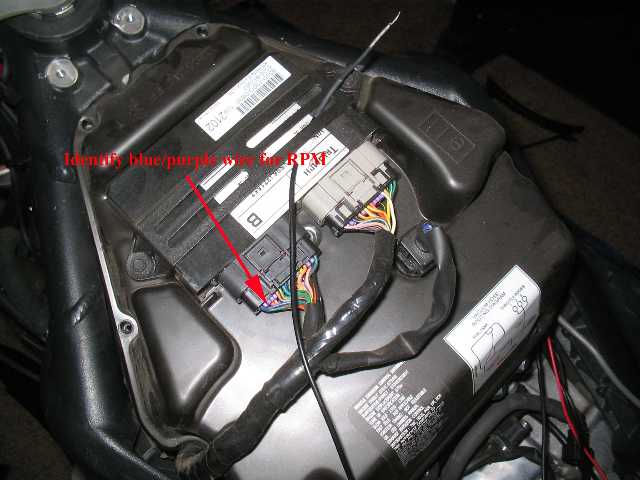
While we were doing the install we had the laptop
trained on
www.sportvue.com as an additional
reference. On there
(SportVue's installation database)
we accessed the information on the Triumph Daytona 675 which identified the
following
|
|||||||||||||||||
 |
|||||||||||||||||
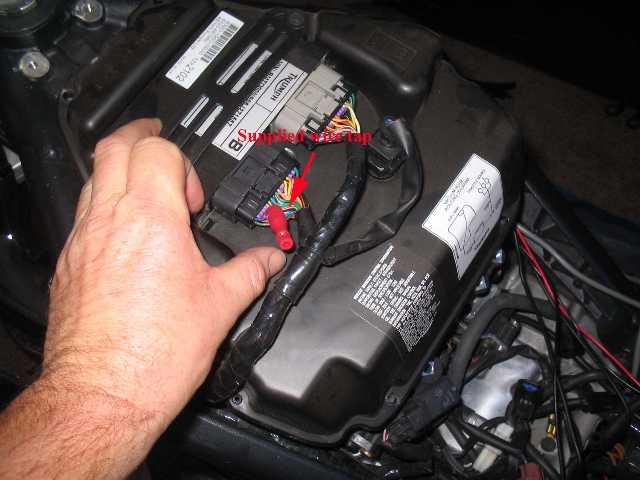
| With the blue/purple wire located we installed the wire tap. It's very important not to vary the length of the RPM sensor wire without conferring with the special instructions to do so. | |||||||||||||||||
 |
|||||||||||||||||
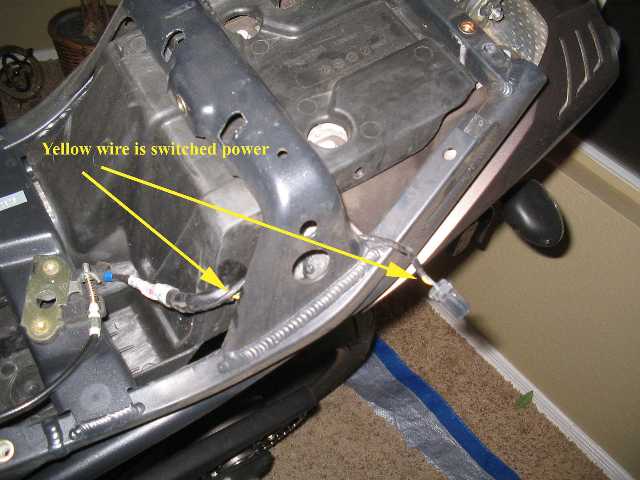
| Next we located switched power at the tail light harness. We traced it closer to the battery area so the tap would be more protected from the weather. | |||||||||||||||||
 |
|||||||||||||||||
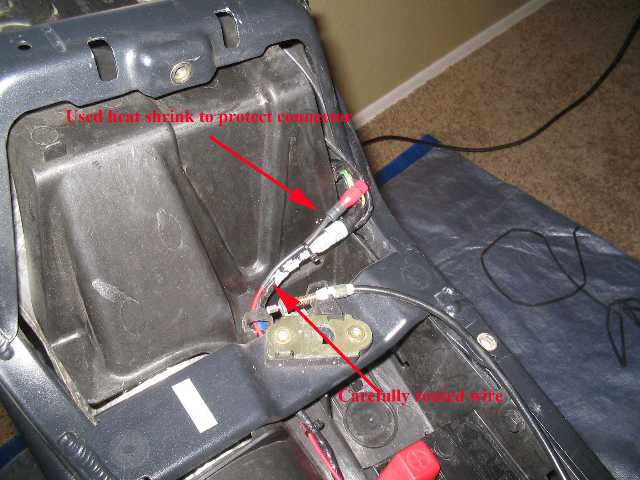
| The tap was installed and wired. Then we added some heat shrink to further protect and strengthen the area where we tapped into the harness. All wires were zip tied to existing looms and routed accordingly. | |||||||||||||||||
 |
|||||||||||||||||
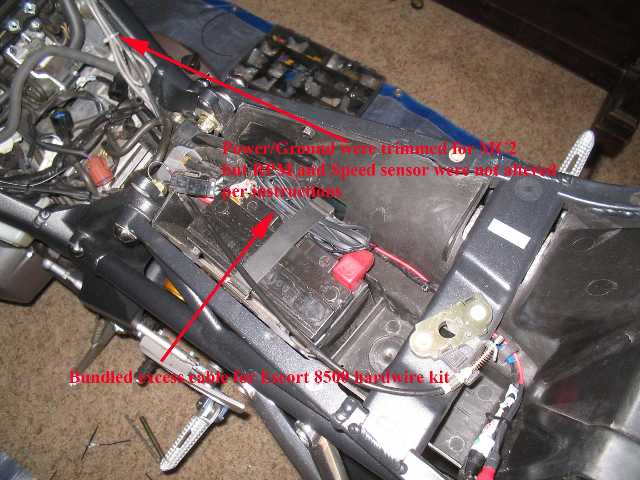
| When possible we shortened wires so not to have spare, but the Escort hardwire loom's excess was bundled and secured next to the battery. You can also see a pointer to the gray wire, which was the speed sensor cable for the MSU. | |||||||||||||||||
 |
|||||||||||||||||
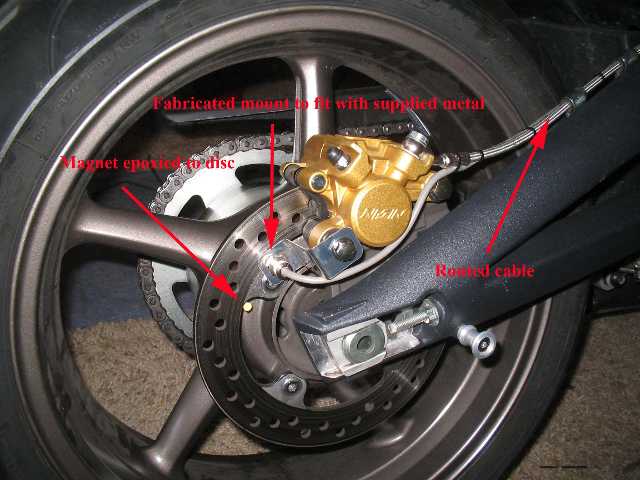
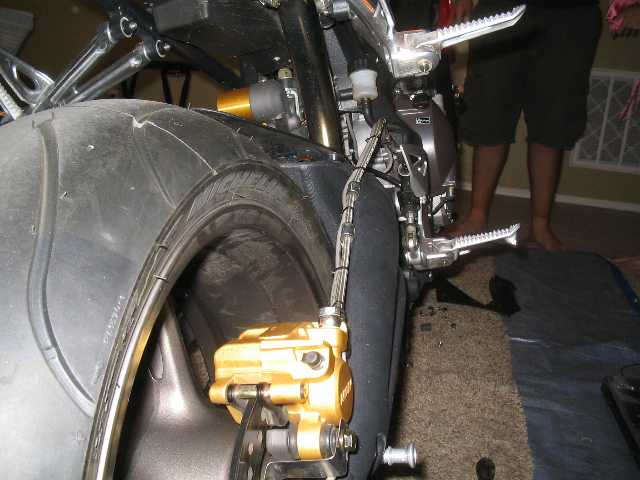
| This image shows the routing of the speed sensor cable, the mounting hardware, and the placement of the magnet on the brake rotor. We made a custom bent bracket (with supplied flat stock) to place the speed sensor. | |||||||||||||||||
 |
|||||||||||||||||
| Here's another pic showing how the cable was secured to the existing brake line. | |||||||||||||||||
 |
|||||||||||||||||
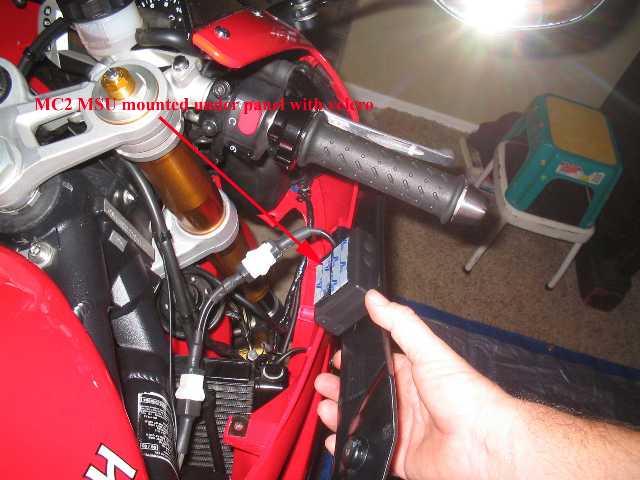
| I decided to place the MSU in a place where it would be easy to operate the A&B buttons if needed later on. Using Velcro, the MSU was secured under this panel with the buttons accessible. | |||||||||||||||||
 |
|||||||||||||||||
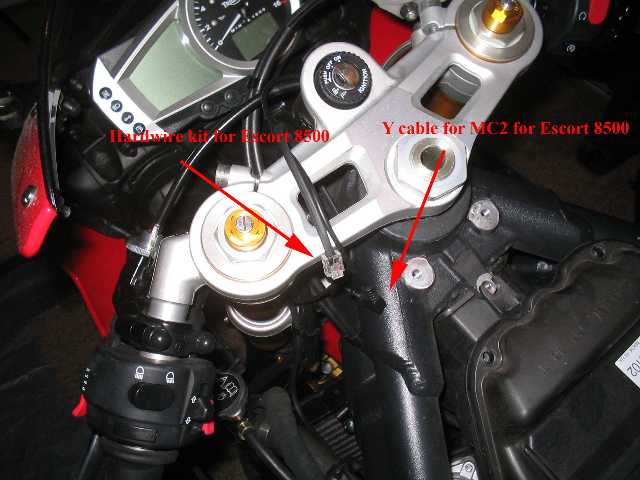
| Here's the wires used to tie into the radar detector. The radar detector mount is still on order at this time. | |||||||||||||||||
 |
|||||||||||||||||
| Where possible we used heat shrink on all the wire so it was not ran bare anywhere. | |||||||||||||||||
 |
|||||||||||||||||
| Next was the simple but critical installation of the HUD on my helmet. Follow the instructions carefully and it's time to program the system. I was nervous running the bike on the stand, but everything worked out fine with a window open and a fan in front of the bike. I kept my hand tight on that front brake while the MSU was learning my bike and gears. Triumphs have a 17" wheel, which is the pre programmed setting from SportVue. Programming was done in a matter of minutes. Once programming and testing was complete it was time for a test run. | |||||||||||||||||
 |
|||||||||||||||||
|
During my first test run I had to play around with the
position of the HUD and the mirror adjustment. I found out that I
installed the Left Eye Clip wrong....to far away from centerline of the
helmet which cropped the display so it's difficult to read the gear
position. I had to order a new clip set to reposition. Once my
radar mount is in I can add that install and test to this article. I am really going to like this system already. It's difficult to maintain a sustained city speed and always catch myself wandering past the speed limit. With the speed limit projected right in front of me it's easier to stay within the speed limit. I am totally impressed on how SportVue packed so many things in that little box! And they include everything you need to do a complete installation. Awesome!!! |
|||||||||||||||||
| March 2007
Report: I had the SportVue installed for 5 months now. When the unit works correctly I absolutely love it! I have not yet come up with a mount for the radar detector that I like.... I am still working on it! Some issues that I have been having with the HUD
I currently have this issue posed to the Tech Support group to solve these issues.... will report back on the fix! It's unreal the amount of attention you get when someone sees the HUD on your helmet. Instant conversation starter for sure. People love to know how it works and you can pull the HUD off and show people what it looks like. I am left eye dominant, so there's not many people left eye dominant so having them put on the helmet to show them doesn't work as well! Plus who wants to put on your sweaty helmet! It's great not having to look at your gauges as much. You really notice a difference in how long it takes you to focus when looking down and then back up at the road....Nice to have the display floating in your peripheral vision. April 2007 Report: I still have not heard from SportVue on their tech forum....did some more reading and went through my install and when looking at the HUD transmitter I noticed the adhesive did not hold the Velcro on and the box fell into the fairing. This box must sit horizontal for the strongest signal to the receiver... I am getting a much better signal now. I contacted Radar Roy about a radar detector mounting solution for the Triumph. He said he had a few in stock so I drove to his shop and we played around with a couple different styles... I ended up going with his Stem Mount bracket...I will get some pics of it soon and post....I do like that it does not block me in the tuck position and I can still see all the gauges too. Roy is a neat guy...if you get a chance send him your business!
|
|||||||||||||||||
| Technical article and
photos are copyright © 2006, Motoman's
Madness. Do not duplicate without express permission from
Greg Banfield aka Motoman!
|
Return to Motoman's Madness | ||||||||||||||||