|
FSNoles1984 took over the group buy
for AdamB for the Two Brothers effort on
Triumph675.net. He managed to get a great discount
through
www.MotoWorldOnline.com for the pipes..... Here's a quick look at my install.
I know everyone likes this sight!!
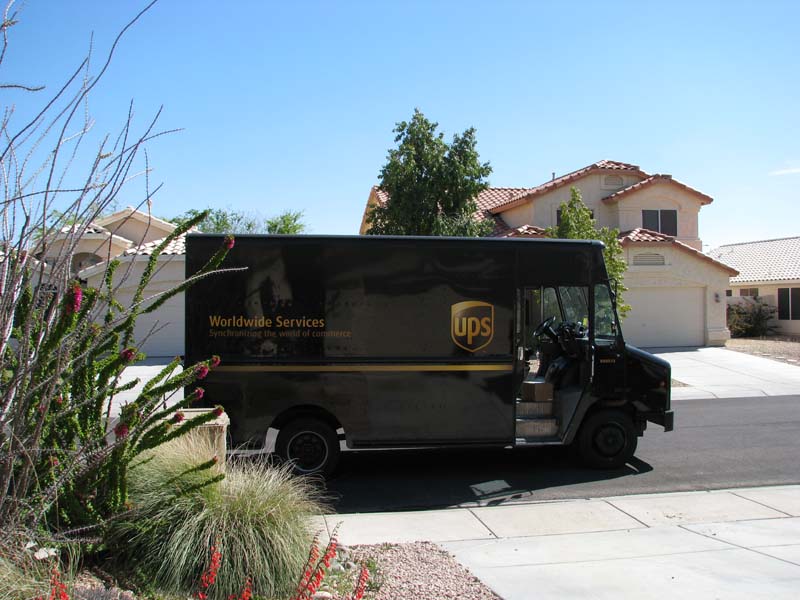
He came bearing gifts!

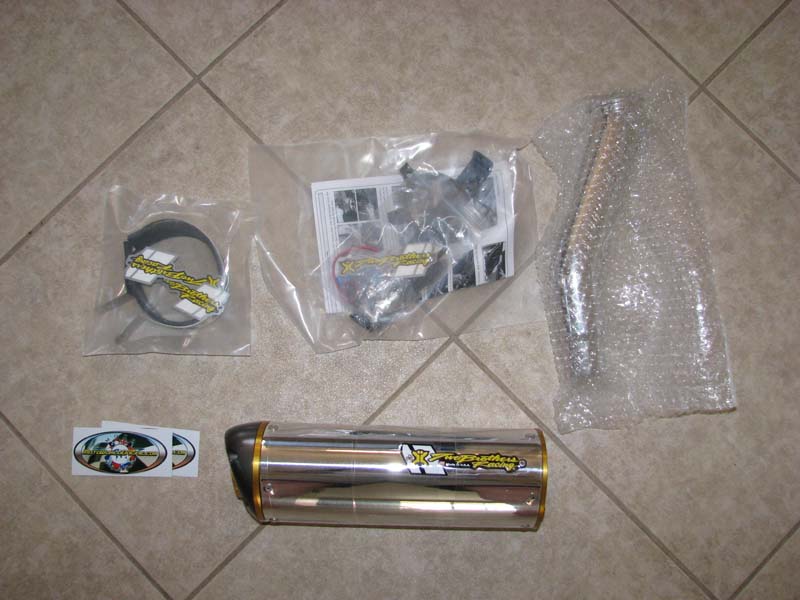
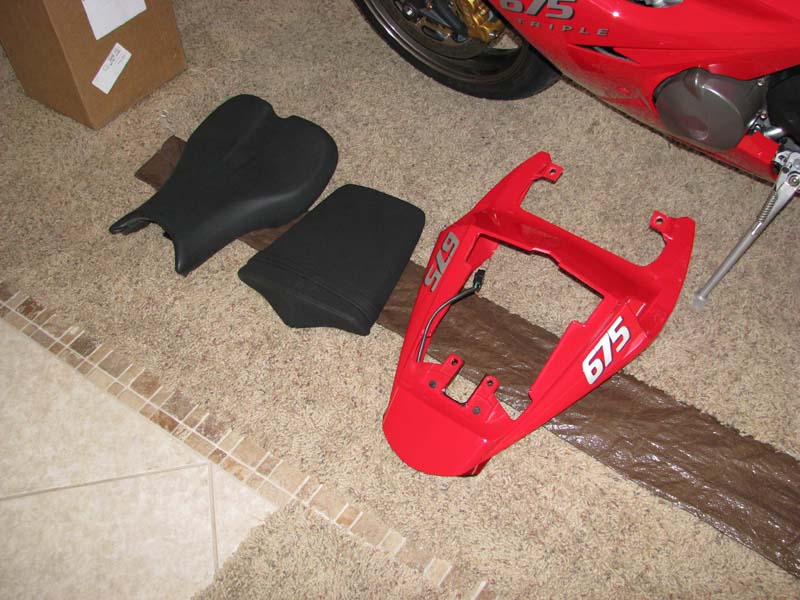
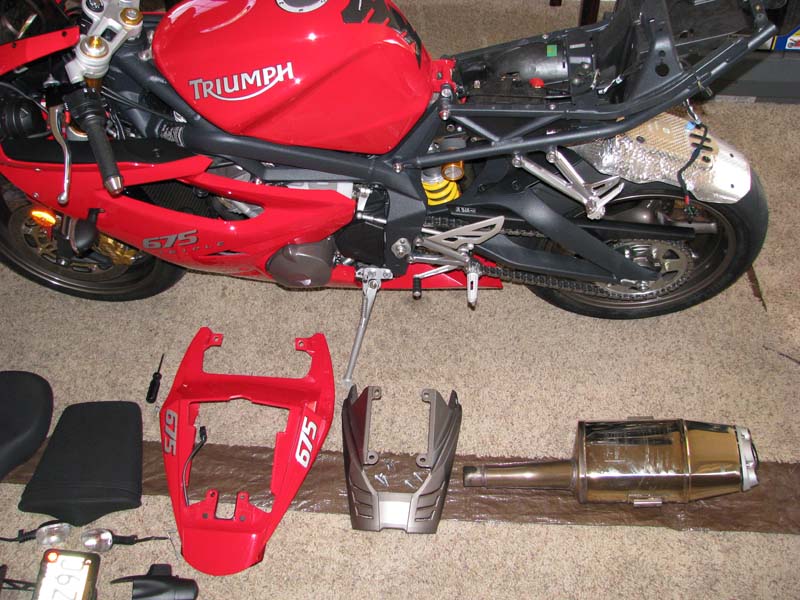
I immediately got into the contents. This kit came with the tail tidy and
blinker relocation kit along with the exhaust.

Next step I set up a work area and pulled the seat and tail section off.
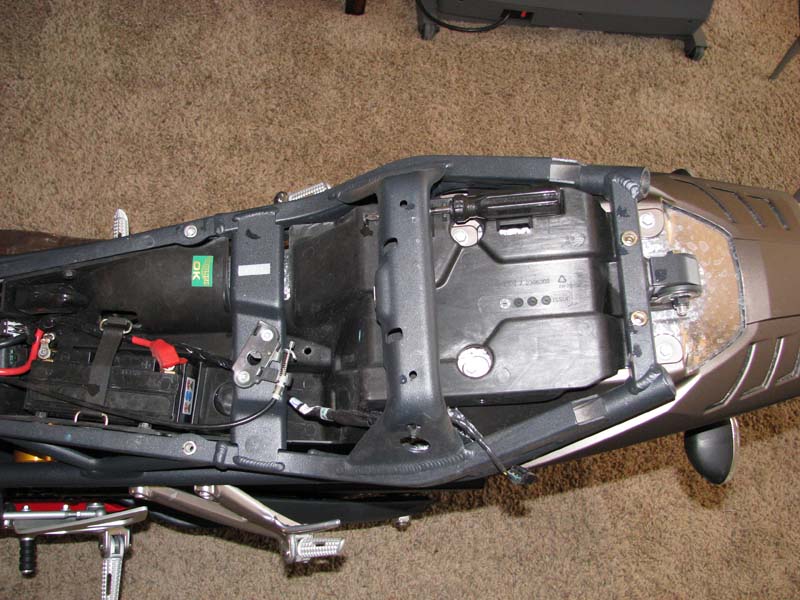
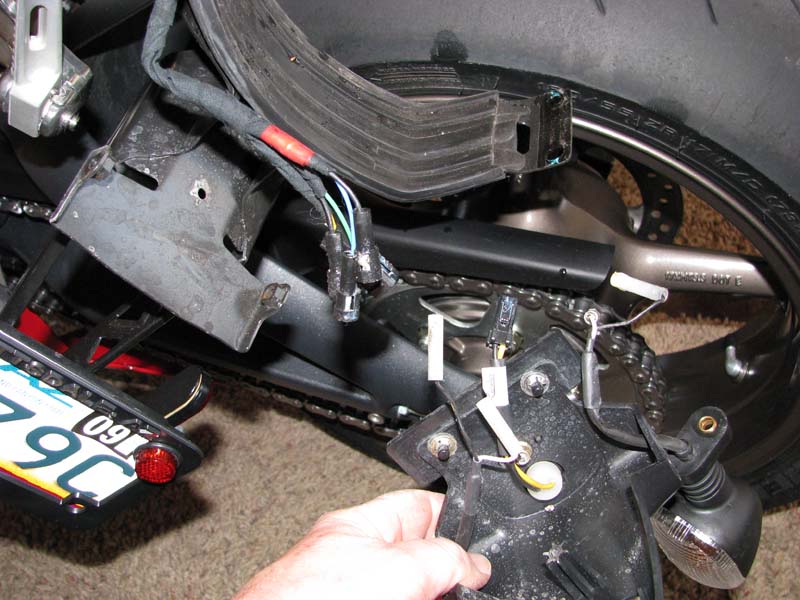
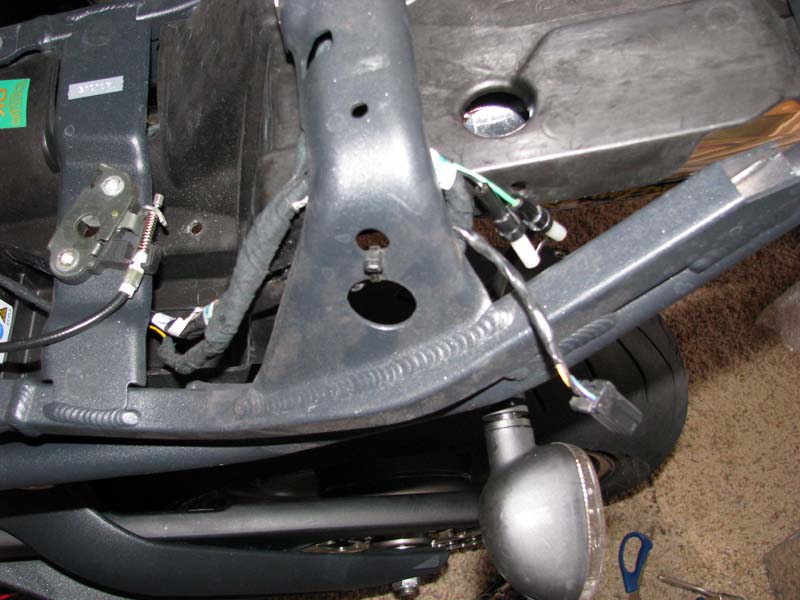
Now i was able to get to the license plate bracket and blinkers. I disconnected
the wiring harness and moved it out of the way.
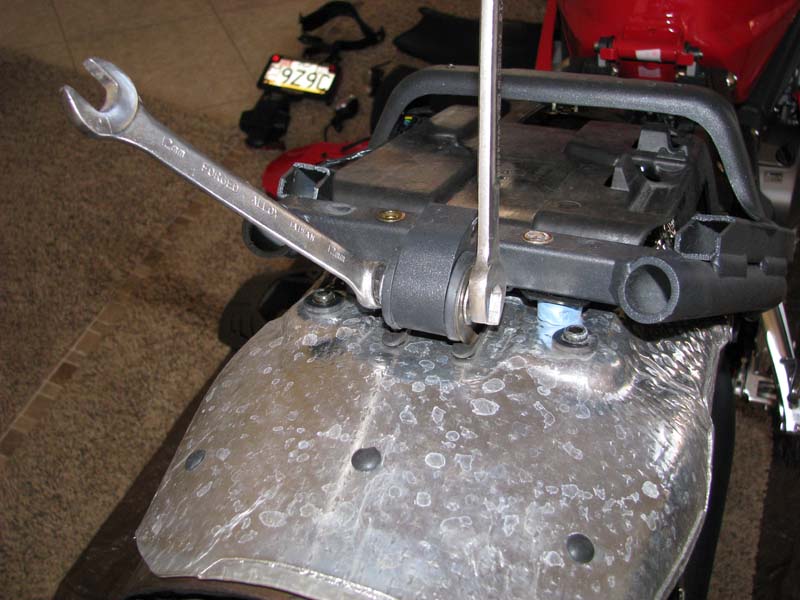
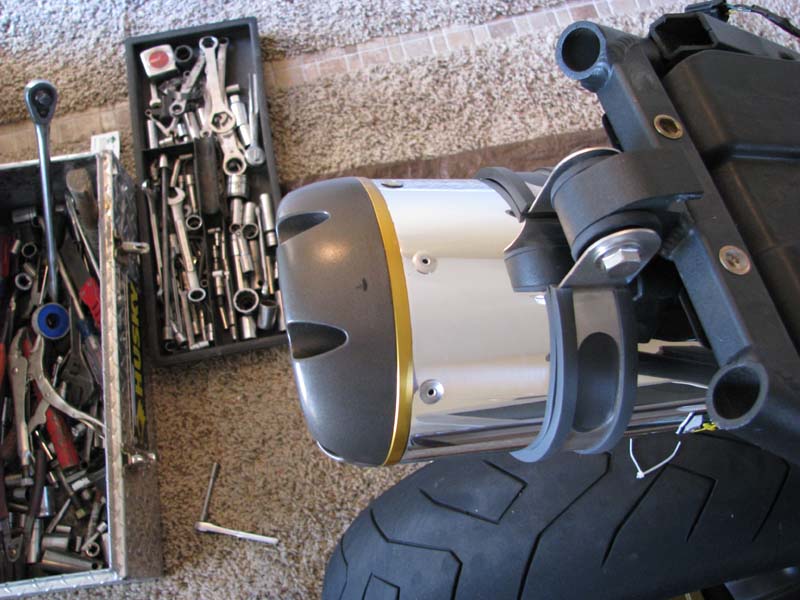
Next step I loosened the clamp on the mid pipe. Also removed all bolts holding
the heat shield and muffler. Once that was done it took a little tug to remove
the whole assembly.
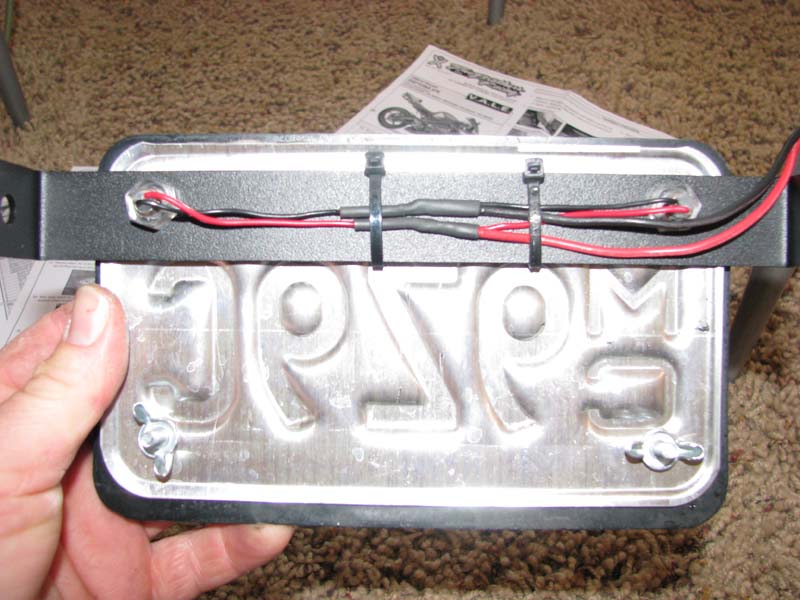
Next I started the assemble of the license plate relocation. The lighted bolts
were put through the license plate and bracket. The black wires were soldered
to each other and a provided length of wire and then repeated for the red
wires. I also put the supplied heat shrink on the wires and secured them to the
bracket by zip ties.
Next you mount the bracket assembly to the rear foot pegs using the stock nuts
and bolts...first thing I noticed was how close the wires were to the pipe.

This was not going to work...so I tried to located them on the forward bolts on
the foot pegs! That didn't look right either...so I gave up for a bit and
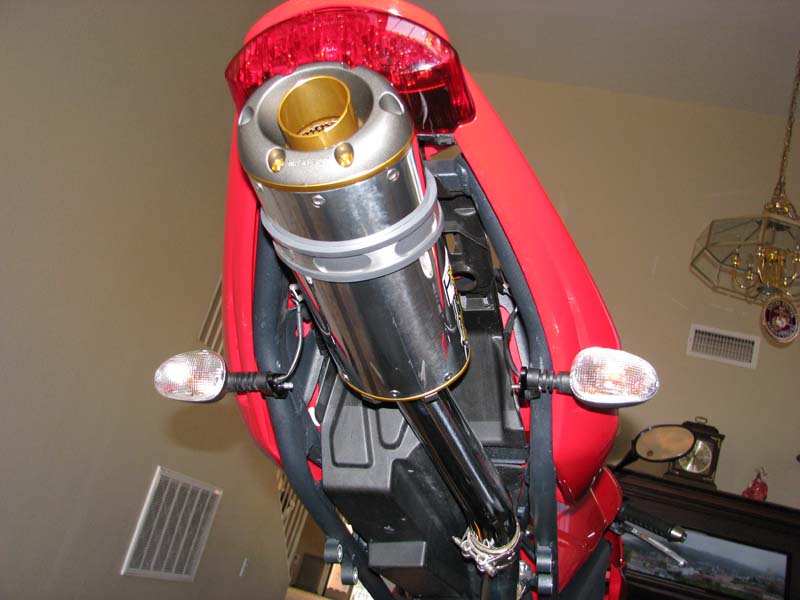
decided to install the blinkers. There are two holes on either side of the rear
sub frame that used to hold the heat shield that have rubber grommets. Remove
the grommets and install the custom supplied adapters and blinkers. Attach the
stock connectors back on the blinkers...Route the wires away from any potential
hot spots or rub areas.
Next install the flange bracket/mid pipe onto the Two Brothers exhaust
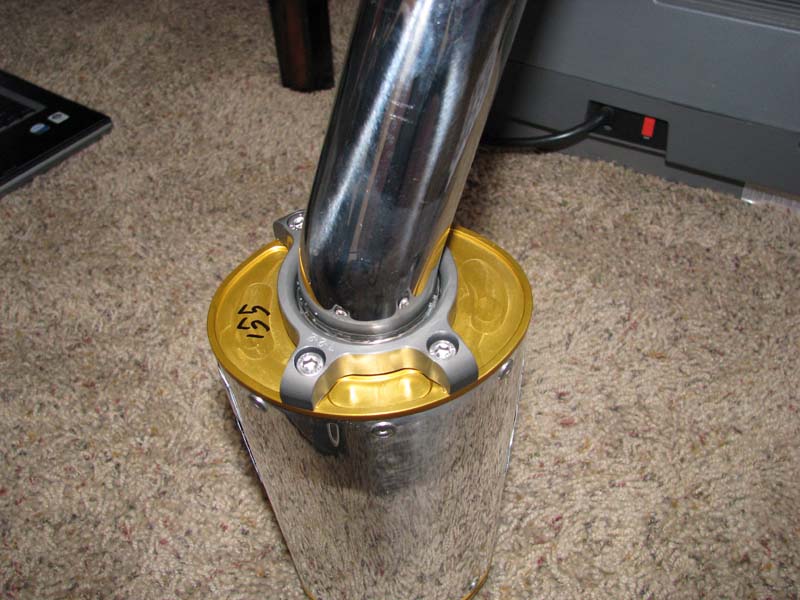
Leave it loose so you can twist the mid pipe for alignment purposes...slide it
into the existing pipe and align...put the exhaust strap on the can and bolt up
loosely aligning each piece as need to get the pipe straight.
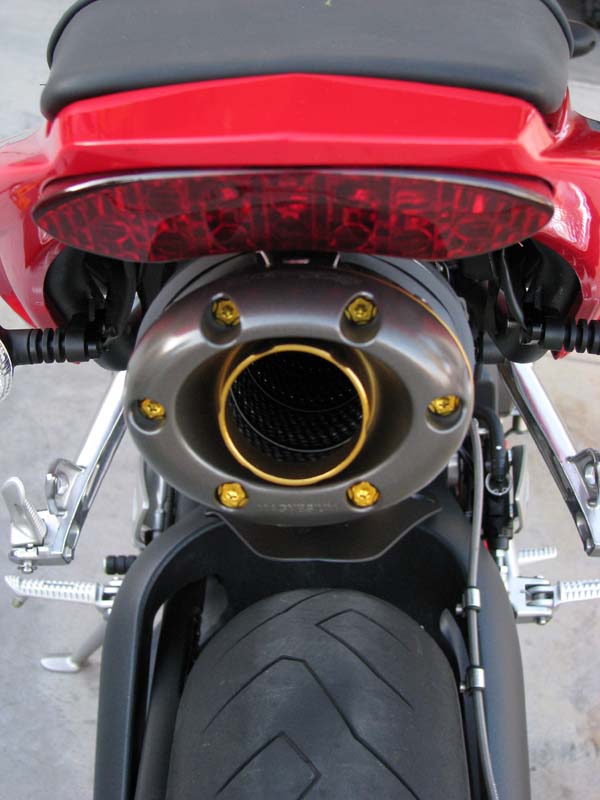
Be sure to tighten the mid pipe clamp, the VALE x ring, exhaust clamp, blinkers,
and reinstall the tail section and seats.
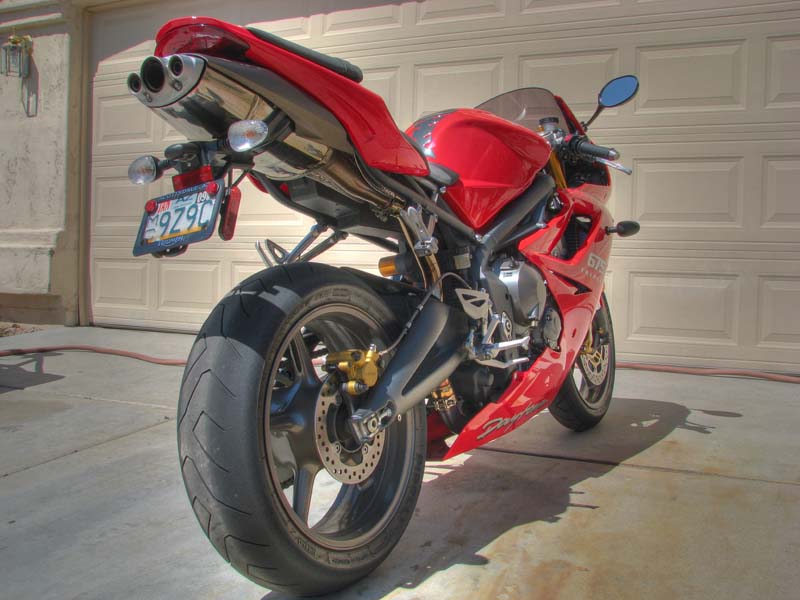
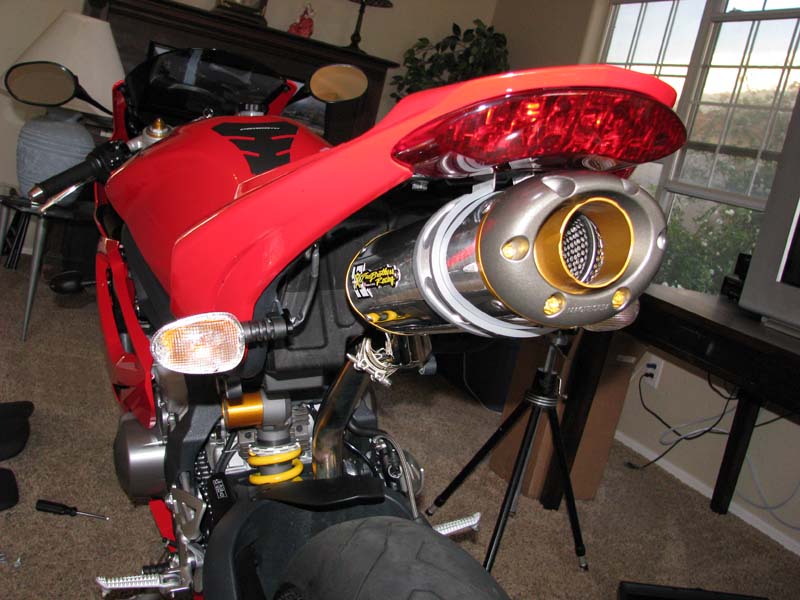
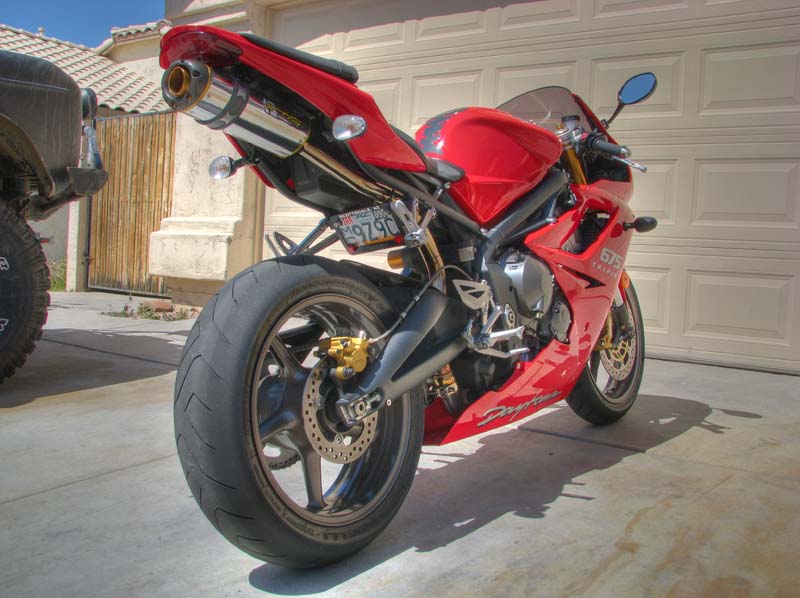
Now here's the finished product!!!
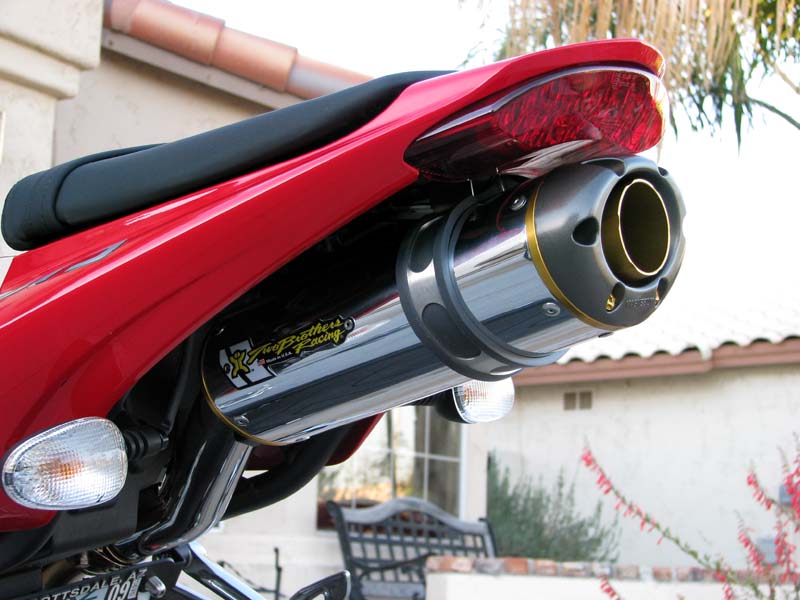
Now it's time to hear how it sounds!
Here's a clip with the stock system, no exhaust and the TWO BROTHERS EXHAUST!
http://video.google.com/videoplay?docid=-6985114083862816086&hl=en
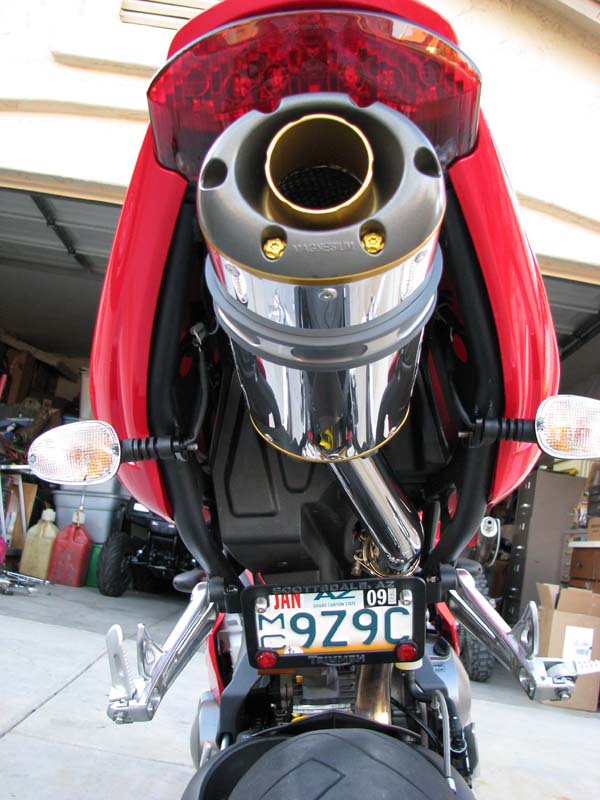
Oh yea....the foot peg/license plate thingy! Now that I took a break from it I
looked it over again. I completely removed the foot pegs and played with the
bracket some more! I finally got it to fit on the rear bolts...but the wires
from the led bolt are still closer to the pipe then I like...they need a slighty
longer bracket with their kit. I attached the the wires to the existing harness
using the electrical taps provided with the kit. Everything worked great!
Love the sound! Has an awesome growl! Up top in the rpms it just sounds
incredible. At cruise the sound is NOT maddening like some pipes....has a nice
prrrrrrrrrrrrrrrrrrrrrrrrr!
Thanks again to FSNOLES1984, AdamB, Motoworldonline (Vlad), Two Brothers and
Triumph675.net for making it possible!
All the
pictures from the install can be found here!
Complete Installation Instruction from Two Brothers Racing
PDF |