| |
|
Wild Horses 2" Body Lift
for Early Broncos | |
|
Please note: Technical Data provided by Wild Horses 640 North El
Dorado Phone
209-943-0991
| |
|
| |
|
Since we were doing both Broncos, (mine and Todd's), I just took pictures of his lift..... the same procedure applied to my Bronco! Tools needed: Sawzall, grinder, socket set, standard wrench set, BFH, impact is helpful, assorted screw drivers, etc. Installation Time: Approximately 4-12 hours (varies based on the condition of your truck!) and this was with 3 people working..... | |
|
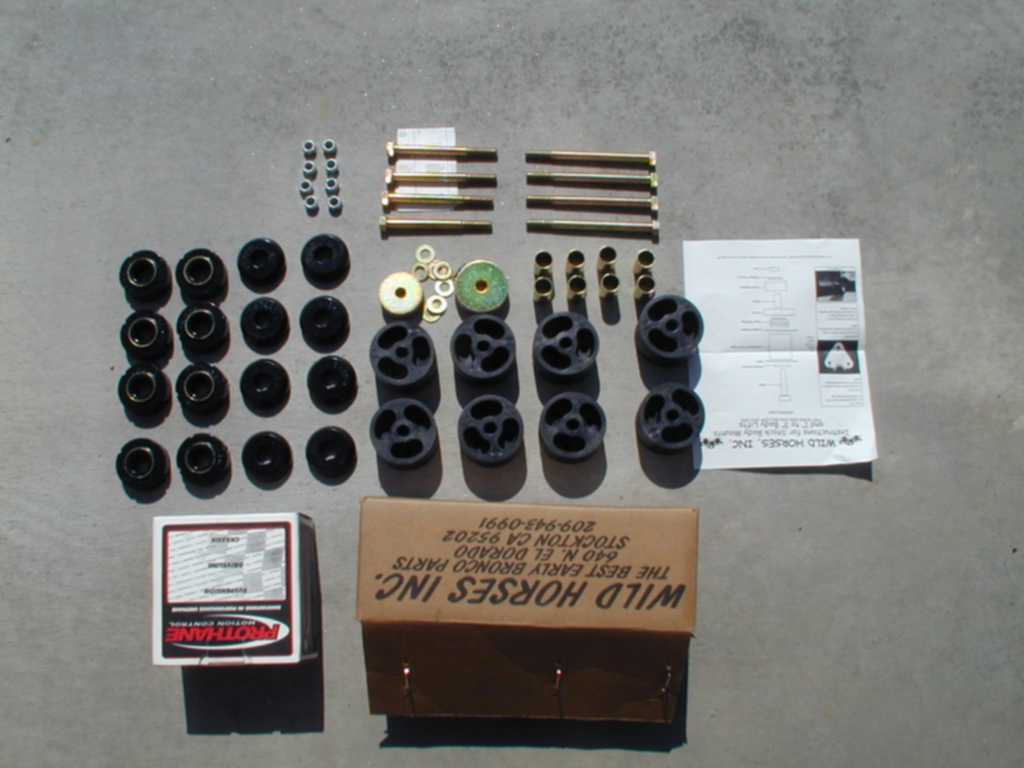
During a recent run through Lower Terminator, I had the unique pleasure to do some wheeling with a neighbor and fellow Arizona Classic Bronco member, Todd Defrane. He immediately saw the need for better clearance and larger tires. After the run we were discussing the different options and decided to do a 2" body lift to his 1976 Bronco to clear a set of 35" MTRs. We contacted Wild Horses 4x4 to order the body lift. Since Todd's Bronco sported 25 year old rubber body mounts, we decided to replace those at the same time. Above is a picture of the complete kit. | |
|
"Body lifts are an easy way to gain added clearance for larger tires. If you want a tall Bronco without having to deal with extreme drive shaft angles, a body lift is the way to go." Wild Horses |
|
This is a Q&A provided by Wild Horses: Body Lift Questions and
Answers
| |
| Body Lift Installation Instructions (101) | |
|
So you say "Where do we start?". There are a list of items that need attention before performing the body lift. This list is NOT all inclusive, as every vehicle is a little different and has different configurations and options. Please use this as a guideline only.
| |
|
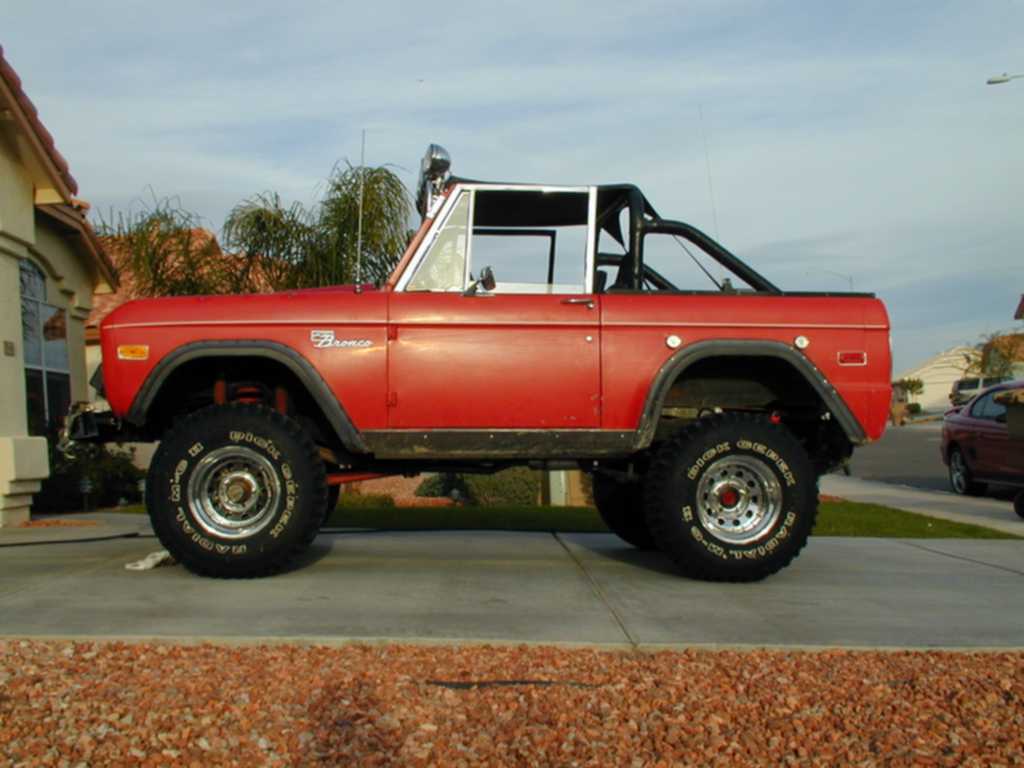
This is a picture of Todd's Bronco with assorted tire sizes ranging from 31" to 33" due to "2" slashed tires on Lower Terminator. His BFG's had rotted from sitting too long. It was time to make room for bigger and better rubber! |
|
|
|
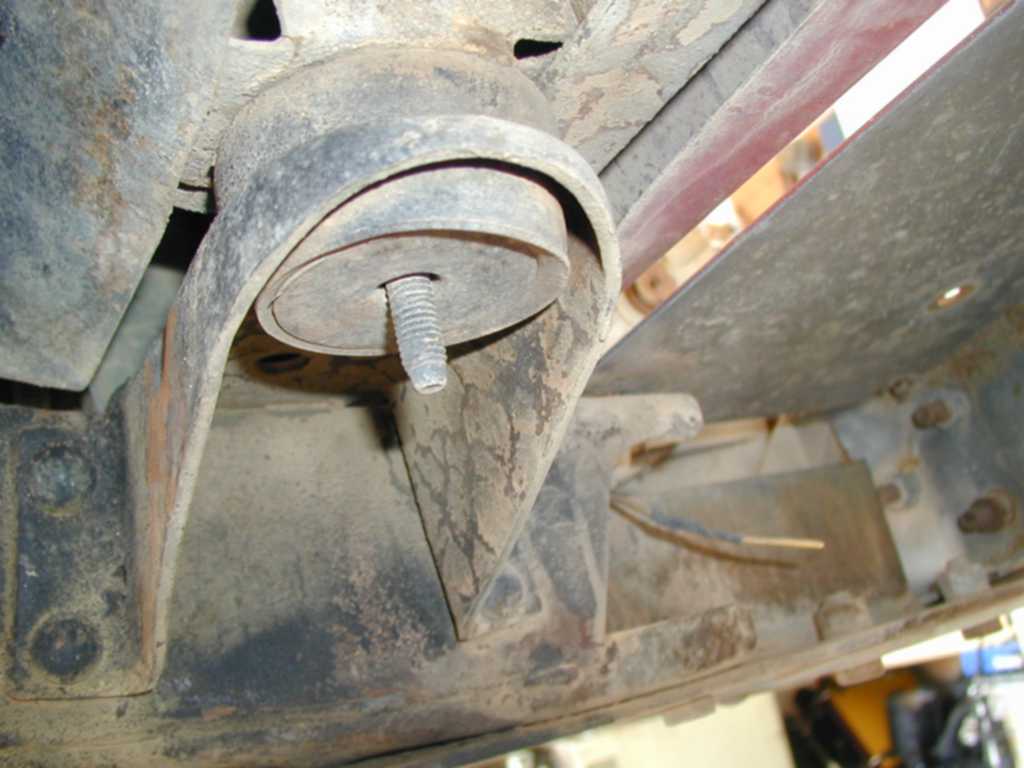
Right when we were ready to disassemble the old mounts, we noticed the trail or mother nature had removed the nuts off of the front mounts already. |
|
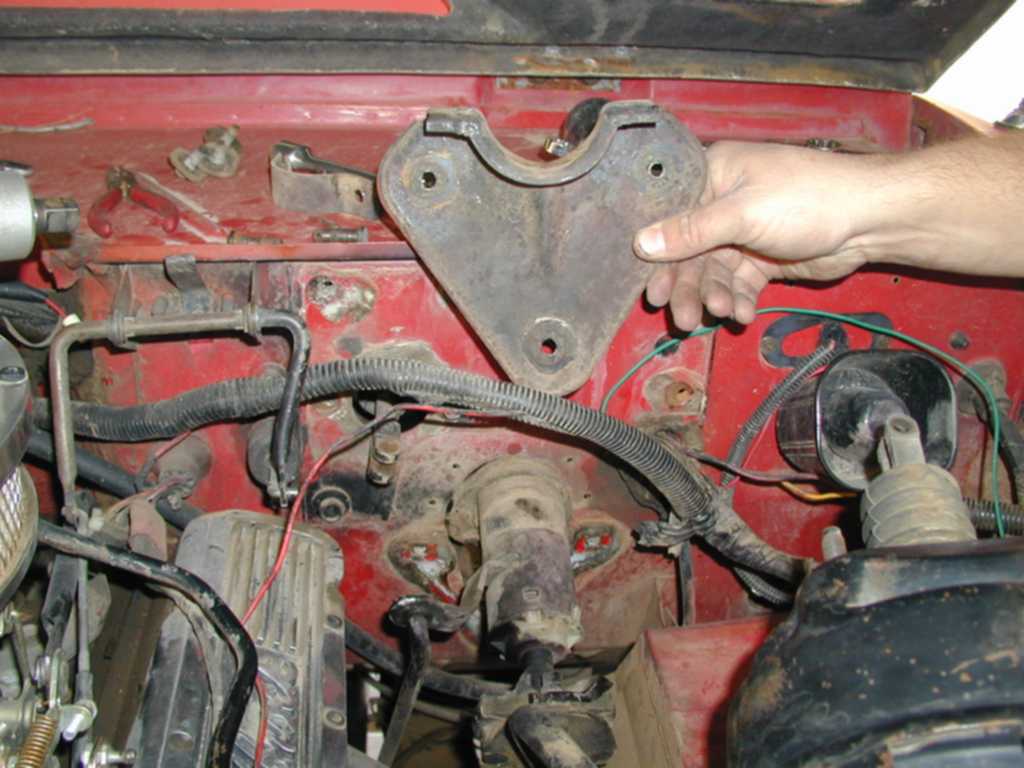
This is the V-brace that I was referring to in the instructions above. You have the option of notching the holes to compensate for the body lift before re-assemble if you decide not to go with a different steering shaft setup. |
|
|
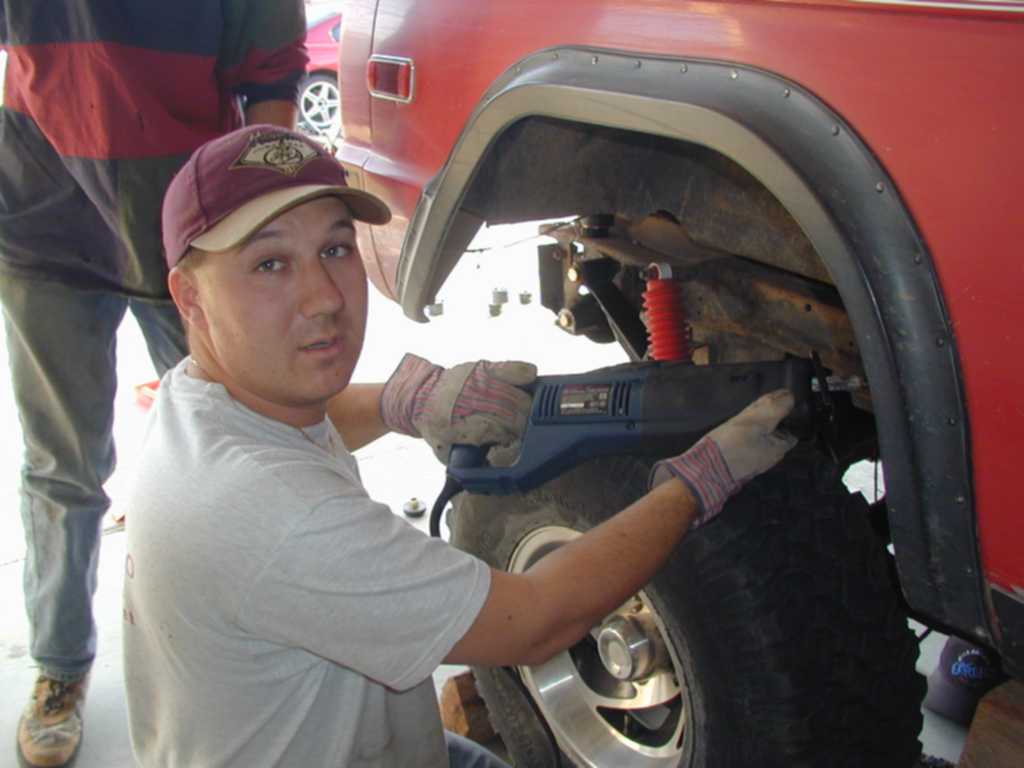
The body mounts were seized together from the long years of use and corrosion. We had to use the Sawzall to cut through the rubber and inner sleeve to remove every body mount. Be sure to use plenty of lubricant while cutting. The rubber gets hot and mushy and really grabs a hold of the blade if you do not use lubricant. Keith, Todd and myself swapped places allot to prevent major fatigue. |
|
While removing the body mounts, we noticed Todd's steering box had loosened from the frame. This was a good time to tighten it up! You really learn your truck quite intimately after a body lift! |
|
|
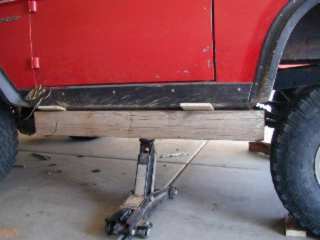
Once all the body mount nuts were removed, we double checked the little things to make sure nothing would bind. Next we used an 8"x8"x3' chunk of wood to distribute the weight evenly and began lifting the driver's side first. |
|
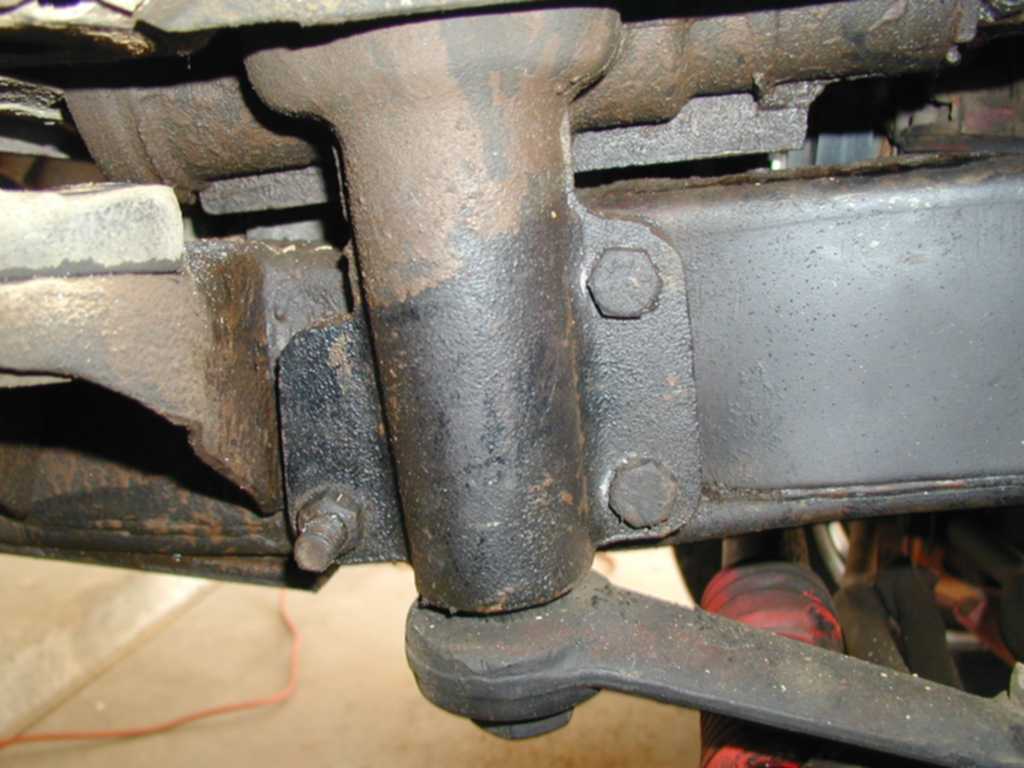
We carefully watched for binding and had someone stationed on each end of the vehicle to make sure it was lifting evenly. This is a good shot of the old body mount before we cut it out. Some of them were hard to get too until we lifted the body some. |
|
|
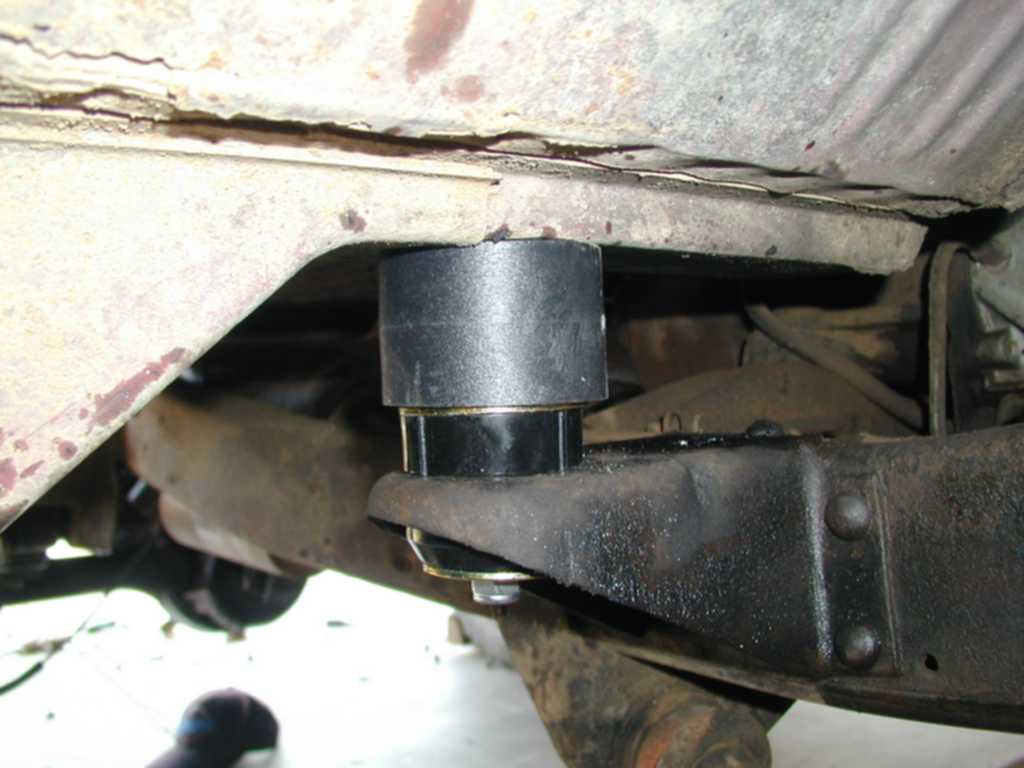
Next, we followed the instructions to get the proper body mount, washer, body puck configuration. One inserted into the frame hole, the bolt was dropped through from the top and then a nut started on the bottom. |
|
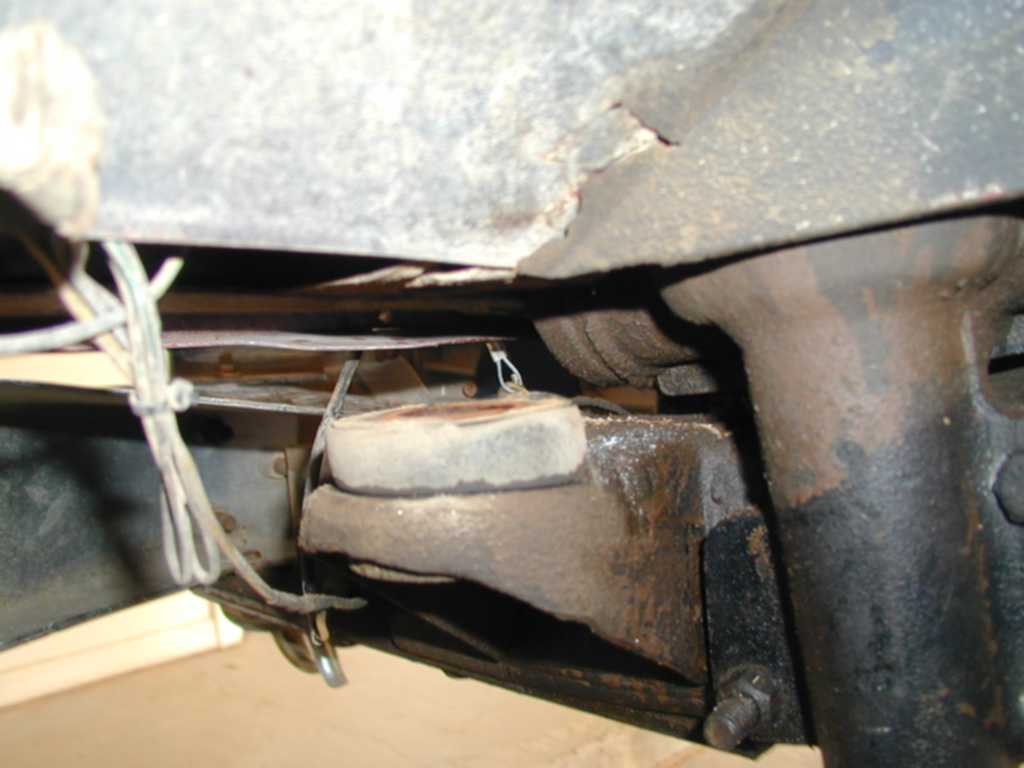
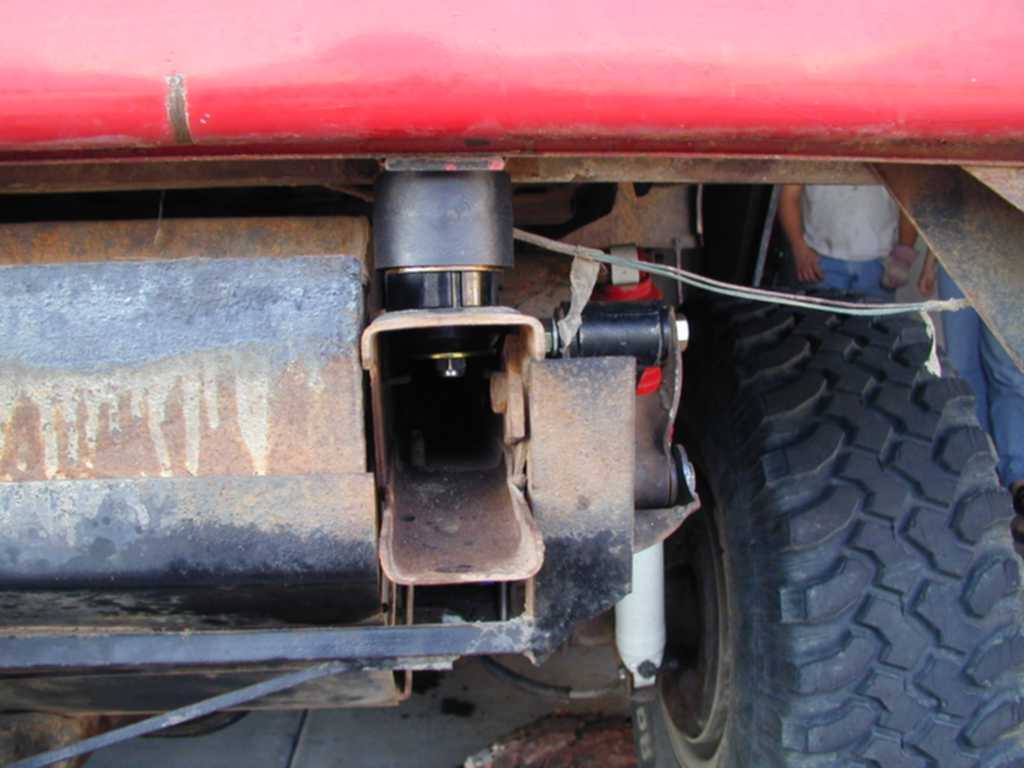
This is a shot of the rear body mount and lift in place. Be sure to have all the body mounts in place before tightening. We lightly tightened the mounts and then proceeded to the other side. Once all the mounts were in we torque em to specs. |
|

|
Well, we might have torque this one a little too much. We actually sucked the nut right through the washer. Off to ACE Hardware to get new washers. |
|
Now that the mounts are in, be sure to go in reverse and attend to each item that you disconnected from the list above.
| |
|
|
|
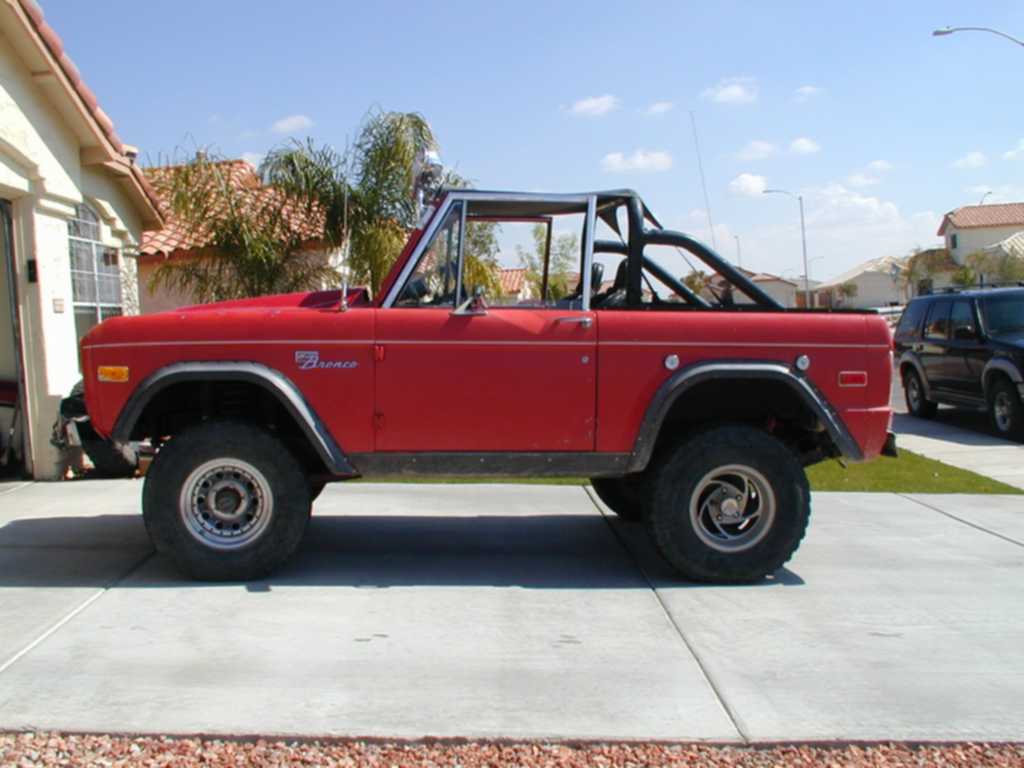
| Before | After |
|
|
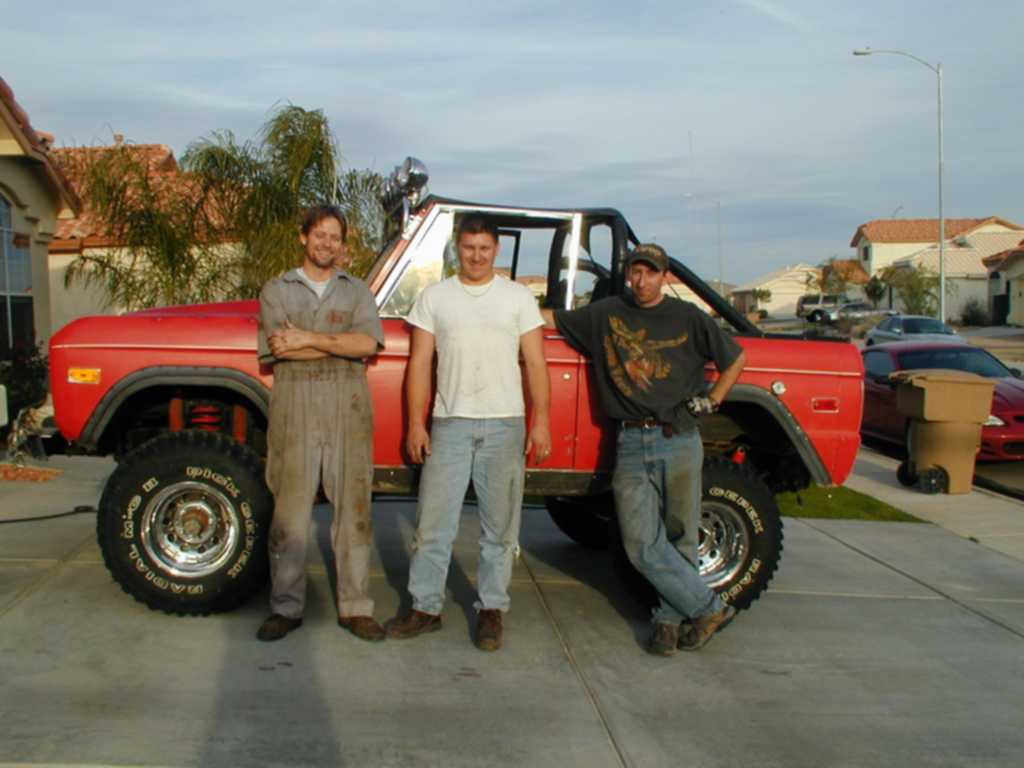
After a hard day's work we were very satisfied with the results. We rolled down my 33" Dick Cepeks for a test fit and it was clear that 35" MTR's would have no problems fitting in the wheel wells. |
|
Please remember safety when completing a body lift. Watch for flying sparks and fuel vapors. Keep an extinguisher handy. Remember to keep your hands out of the pinch points. Use at least the two man rule when working on your vehicle. And also, detailed instructions are included with every kit. Good luck and be sure to contact Wild Horses for your body lift needs!
| |
|
Property
of Greg Banfield and
| |