 | |||
|
Outdoor Logic 3rd Generation 4 Runner Front Bumper Technical article by Greg Banfield, Editor Motoman's Madness | |||
|
Please
note: Technical Data Outdoor Logic LLC | |||
|
| |||
|
| |||
|
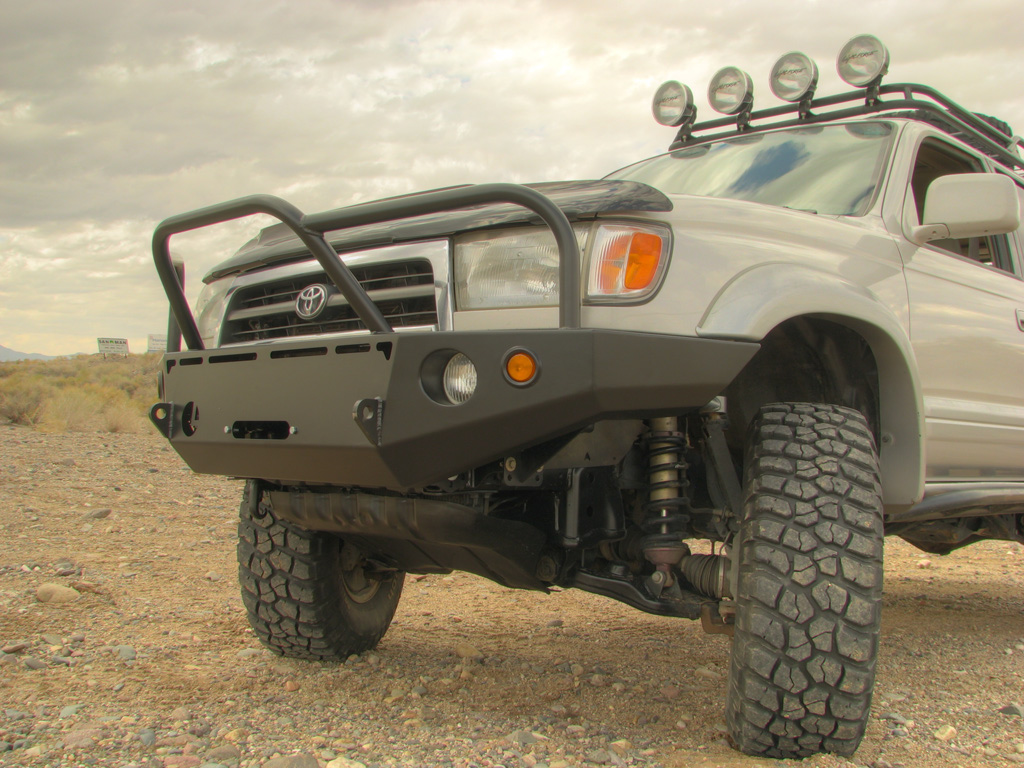
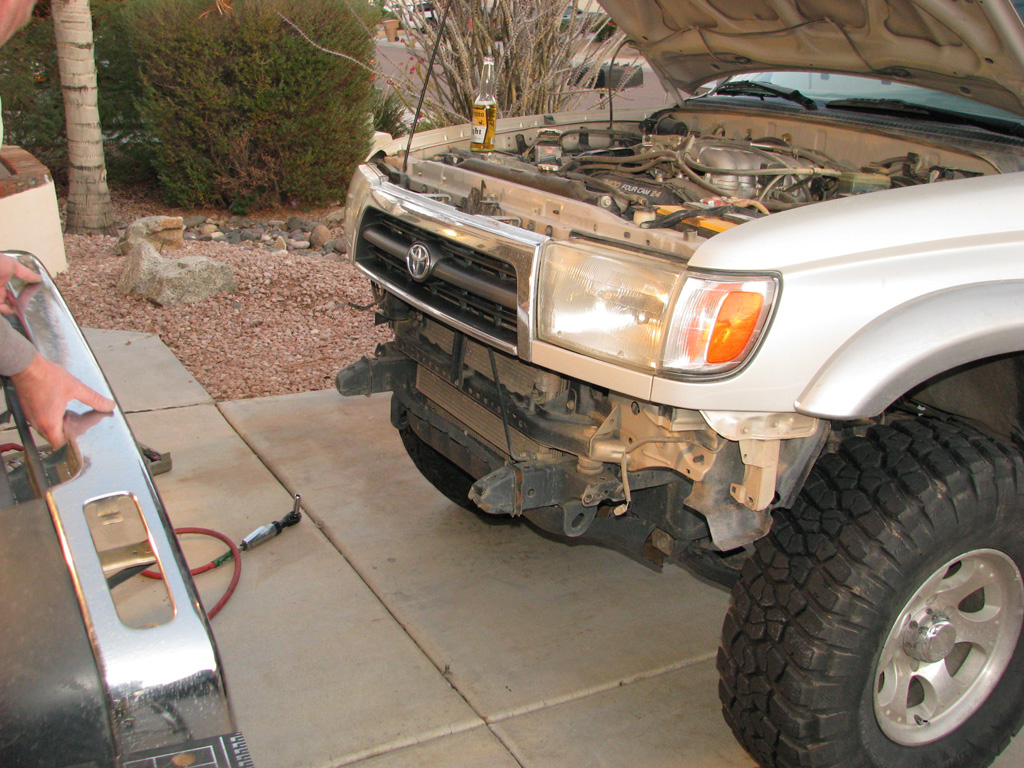
Outdoor Logic offers the 3rd generation 4Runner winch bumper, which is designed to increase approach angles, protection, and style to your 3rd Gen. They are laser cut and CNC bent then assembled and welded in house by experienced fabricators. The bumpers are constructed of 10 gauge and 3/16ths material with re-enforced supports to provide structure and rigidity to necessary areas. The bumper comes with many options. John ordered the full hoops, blinkers, powder coating and customized for the "Limited" version of the Toyota 4 Runner. Please visit Outdoor Logic for the different options available for your bumper. Tools needed: Metric sockets, 3/4" combo wrench, ratchet, cutoff wheel or sawzall, screwdriver, razor knife, drill, pilot and 1/2" drill bit, Loctite®. Installation Time: Approximately 2 hours | |||
|
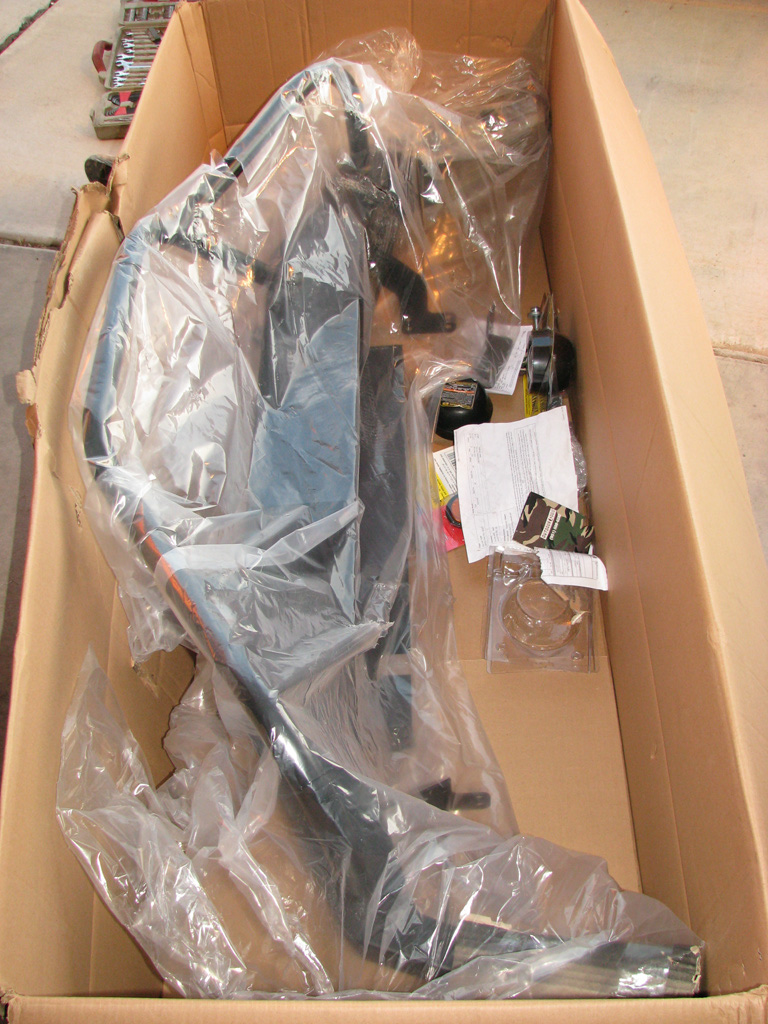
At the time John ordered his bumper, the lead time for assembly was 4-5 weeks. Due to a CNC issue delivery was delayed an additional 2 weeks. The UPS guy showed and the first thing to do was to inventory the parts. In the box was one awesome bumper, installation hardware, (2) turn signals and (2) 4" offroad lights (optional). |
 | ||
|
|
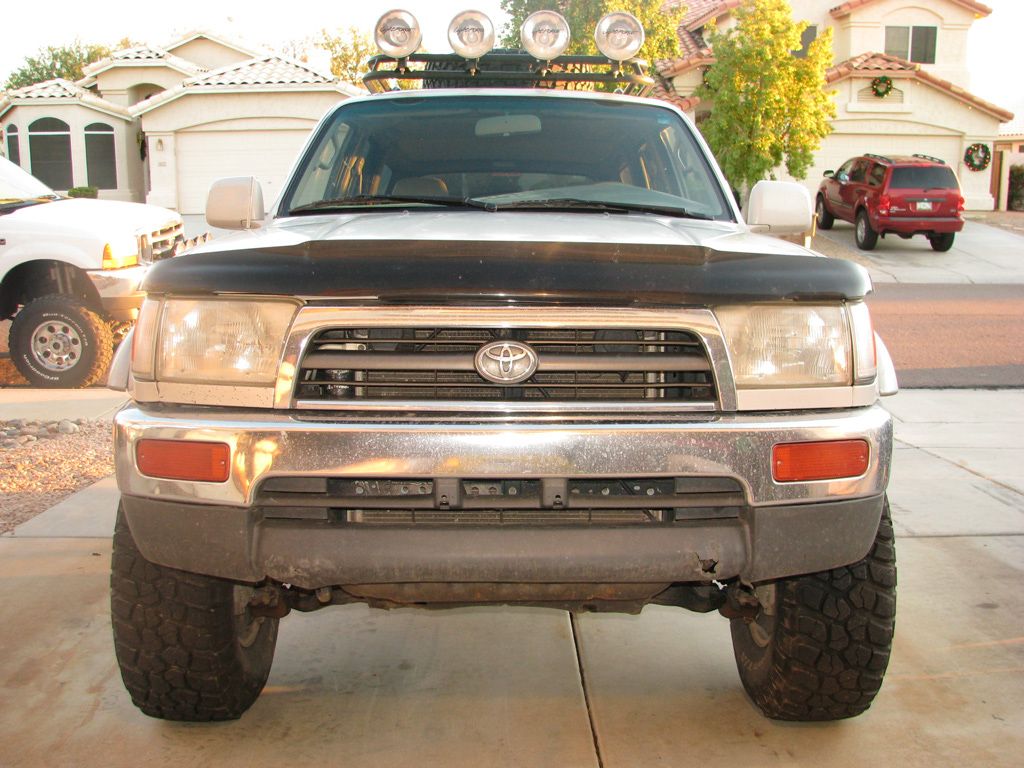
After a quick inventory we reviewed the stock bumper set up to see what tools we would need for the de-install. | ||
| Bumper Installation Instructions (101) | |||
|
Now, as you'll see, these installation instructions are extremely easy to follow. Just about anyone can accomplish this task. This is just a general overview for installation and may vary with your specific vehicle. It's good to have a friend help you during the installation. The bumper is awkward to lift and a second set of hands would be beneficial. |
|||
|
|
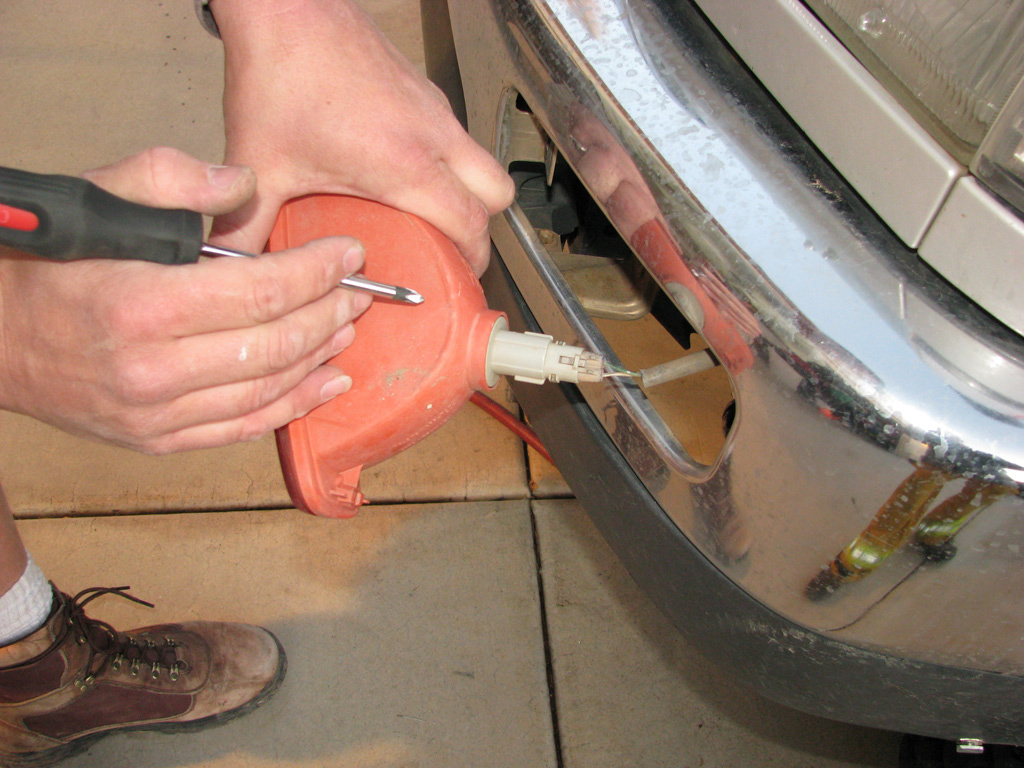
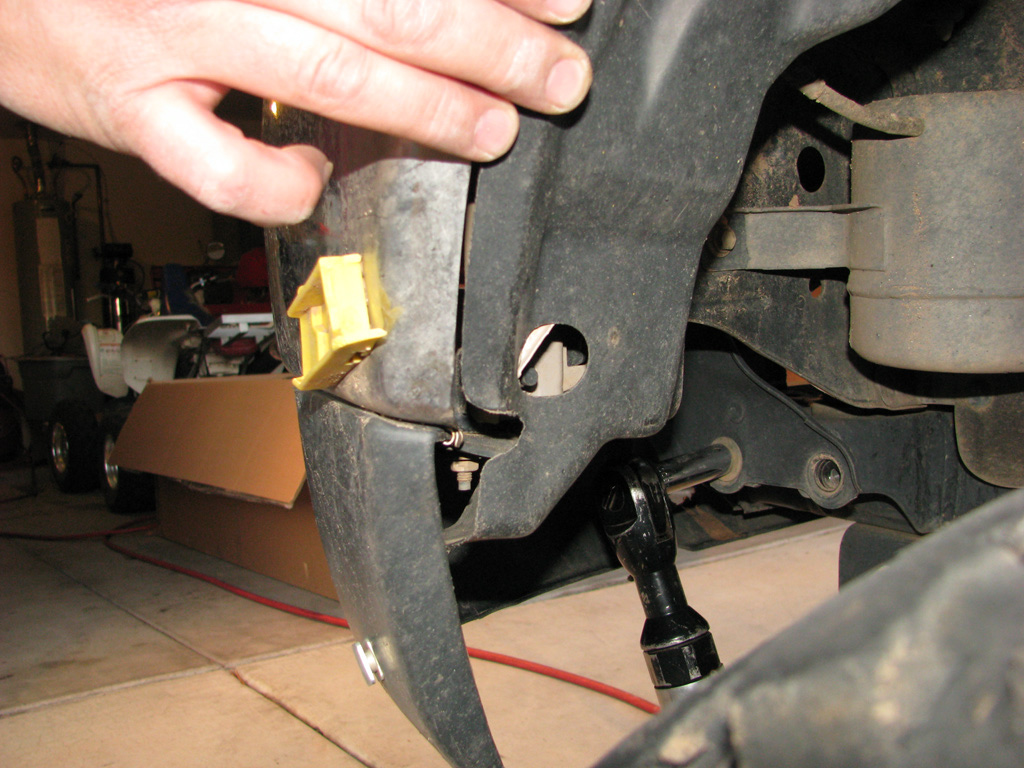
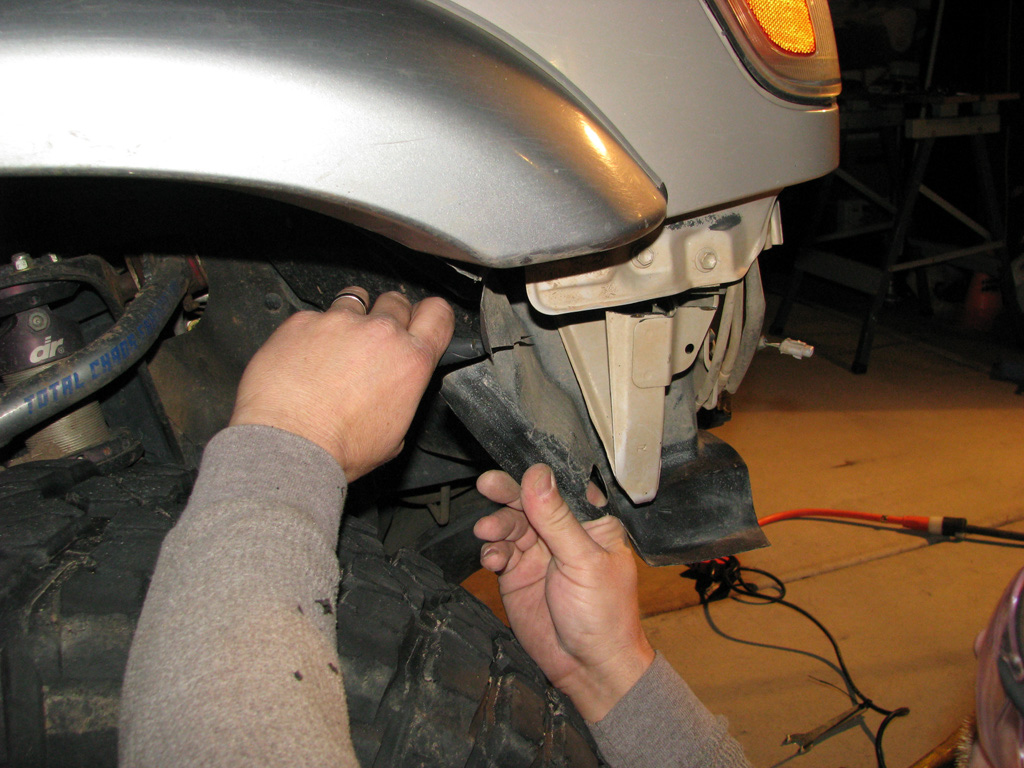
After a careful inventory of the parts, move out to the vehicle and take a close look at the front end. Make sure you block the wheels so the vehicle is stable. Using a phillips screwdriver, remove the blinkers and disconnect the plug to the harness. | ||
|
Remove the bolts that hold on the inner fender well through this hole. |
 | ||
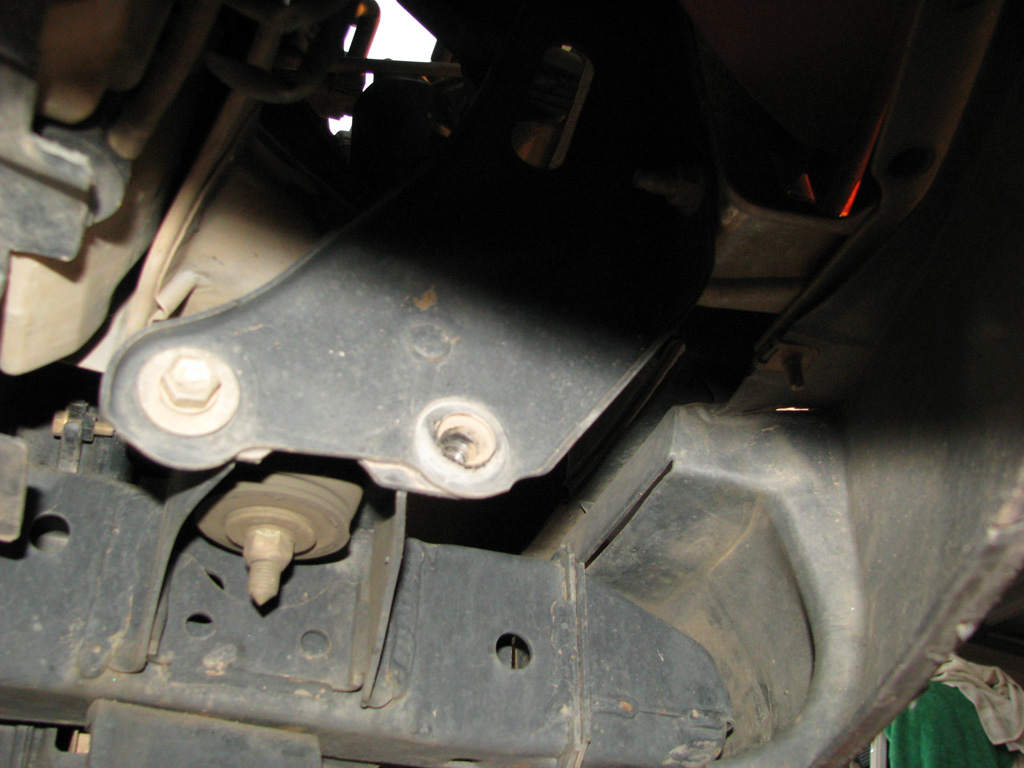 |
Remove the two bolts that hold the bumper next to the body mount | ||
|
Your bumper should now be loose and ready for removal. This will expose the frame rails for the next step. |
 | ||
 |
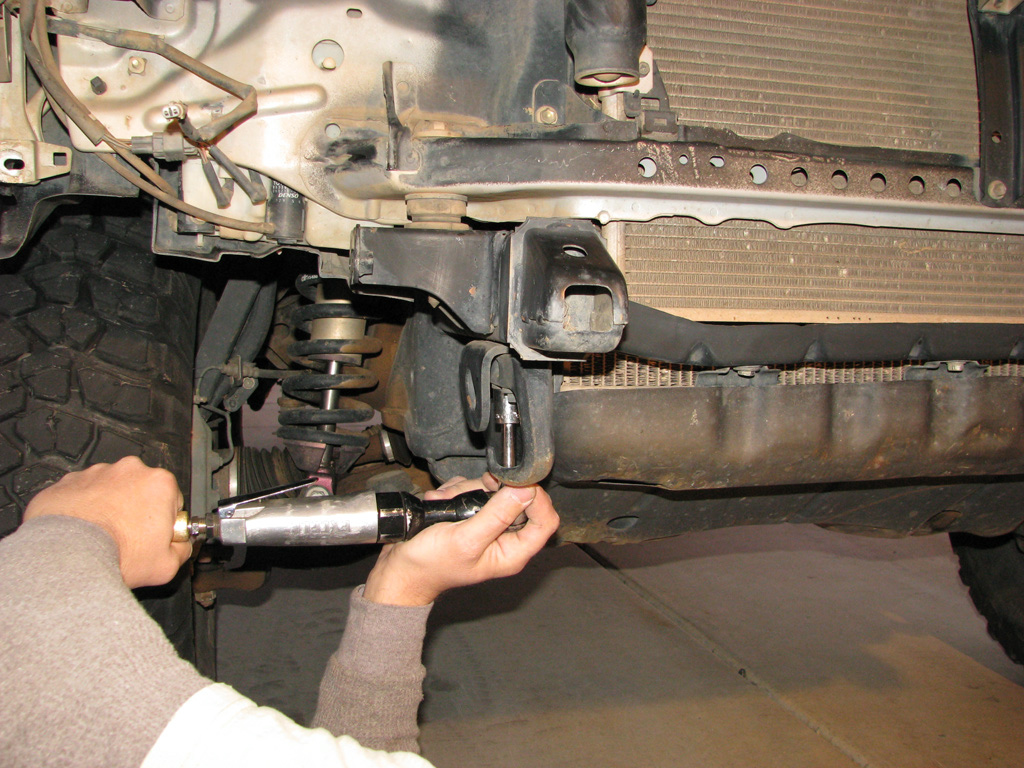
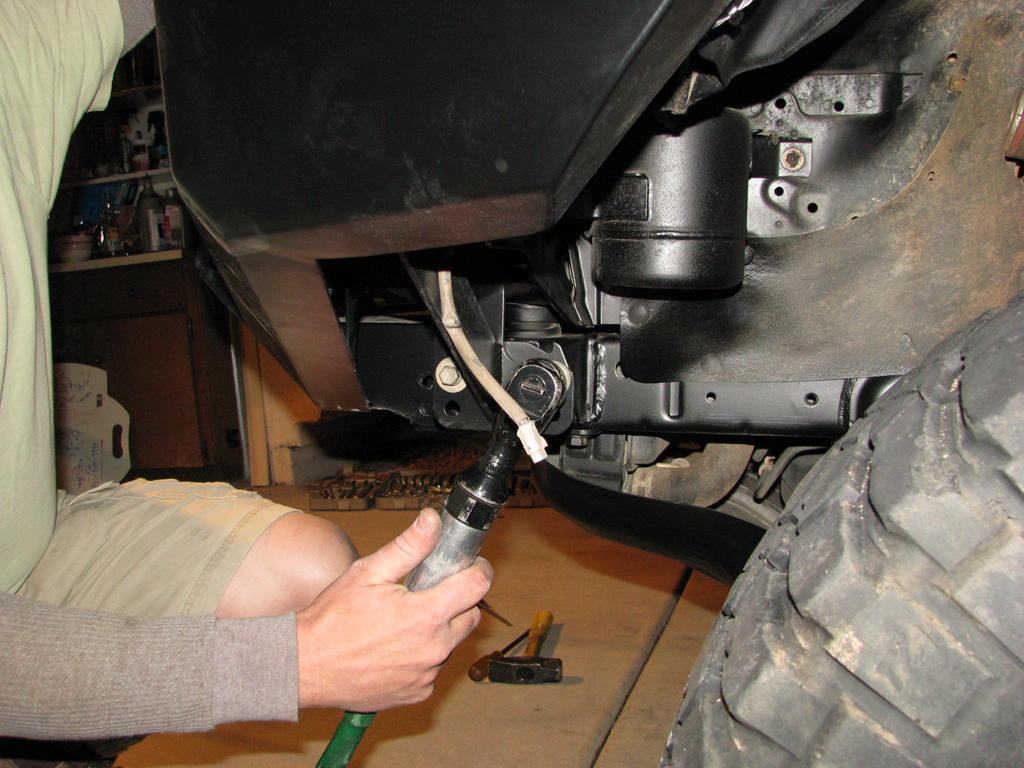
In order to prepare the frame rails to accept the new bumper you must remove the crush bumpers. Remove the 12mm bolt inside the crush bumper. | ||
|
Remove the bottom two bolts on each side of the frame that hold on the hook and tow loop. The new Outdoor Logic frame bracket will go in this location. |
 | ||
|
|
|||
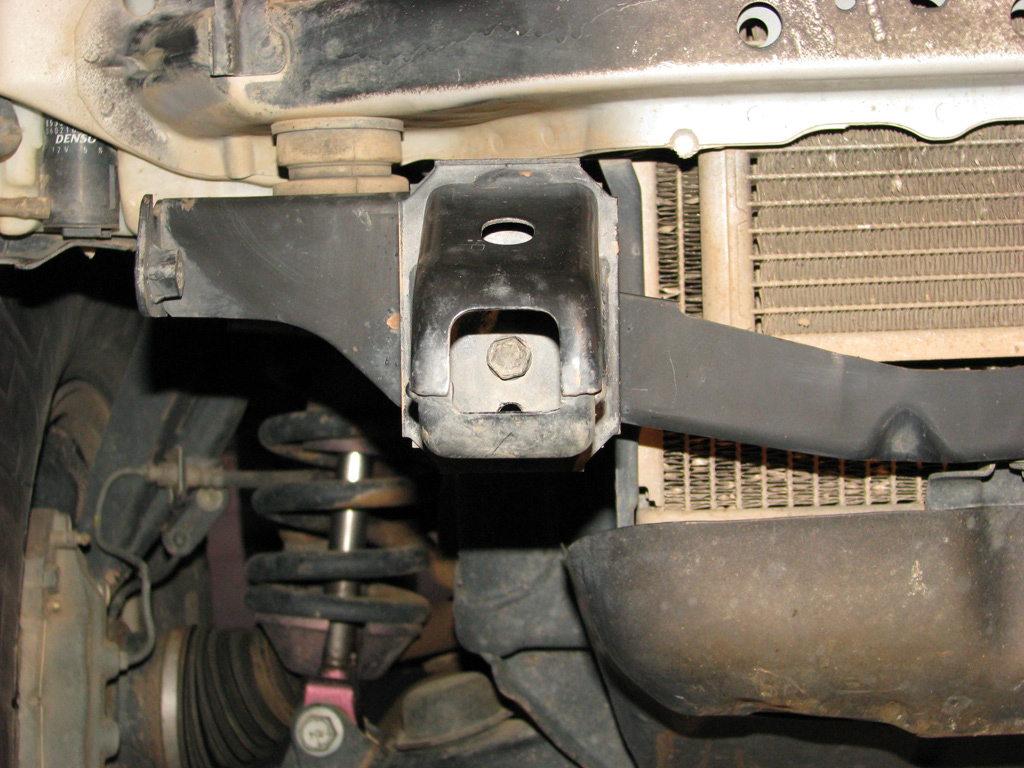
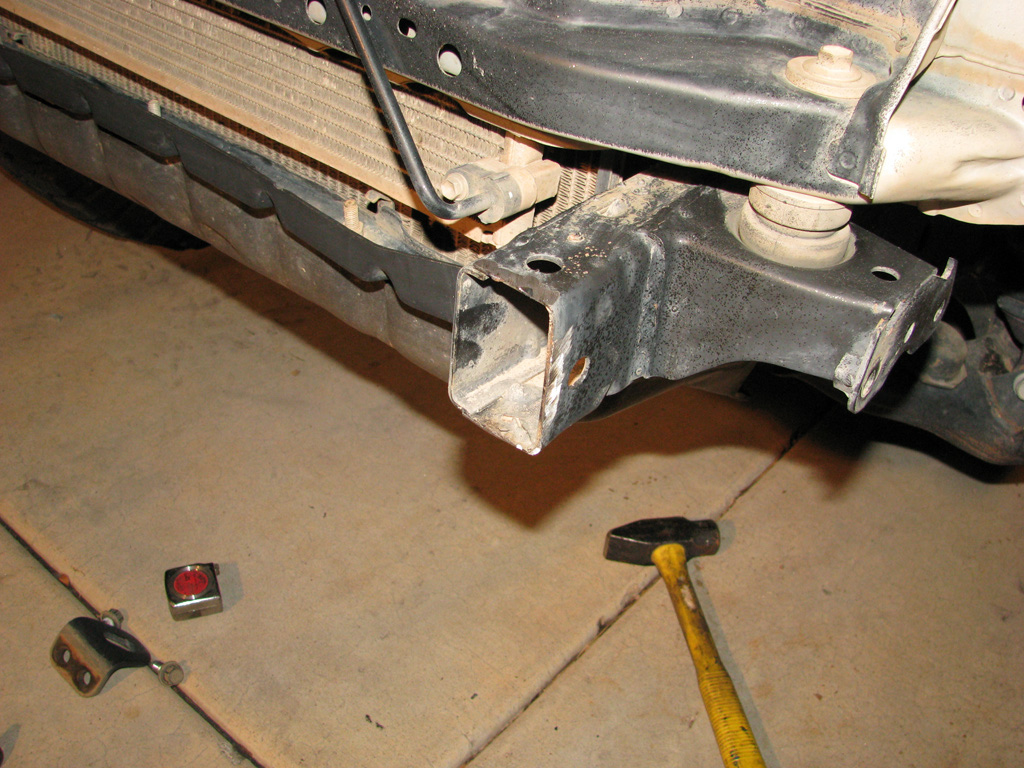
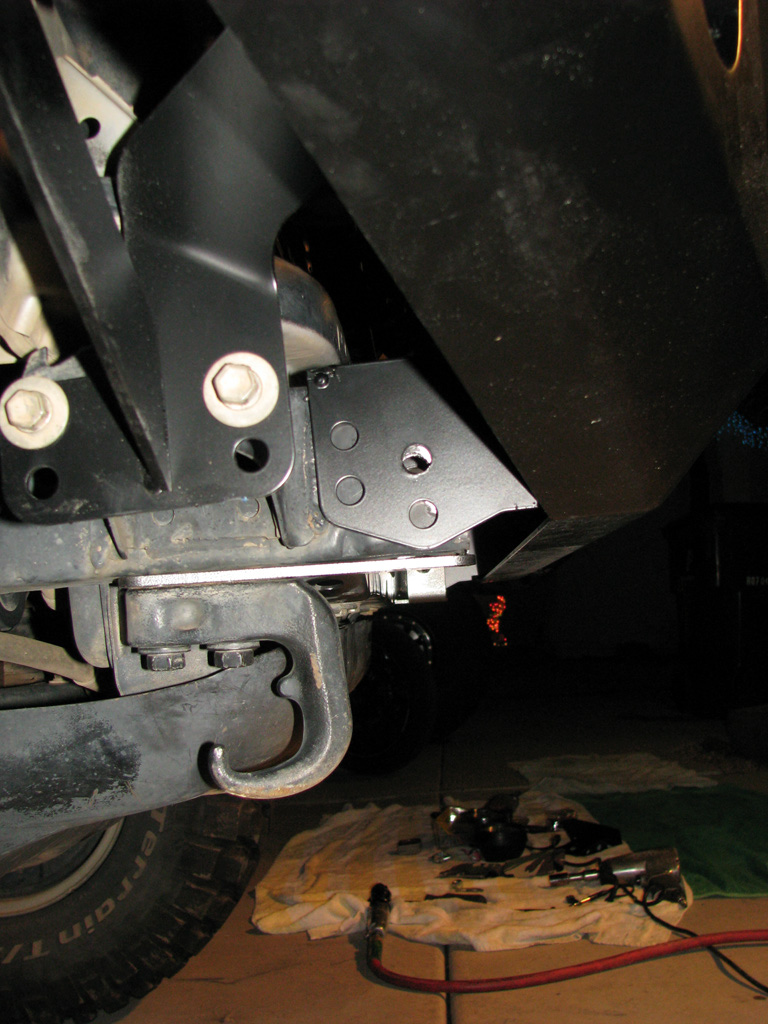
| Next we took the frame brackets included with the bumper and did a test fit. We noticed the holes do not line up correctly unless we clearance the weld on the cross member as shown in the photos below. Take a grinder and remove just enough material so the bracket holes line up underneath. | |||
 |
 |
||
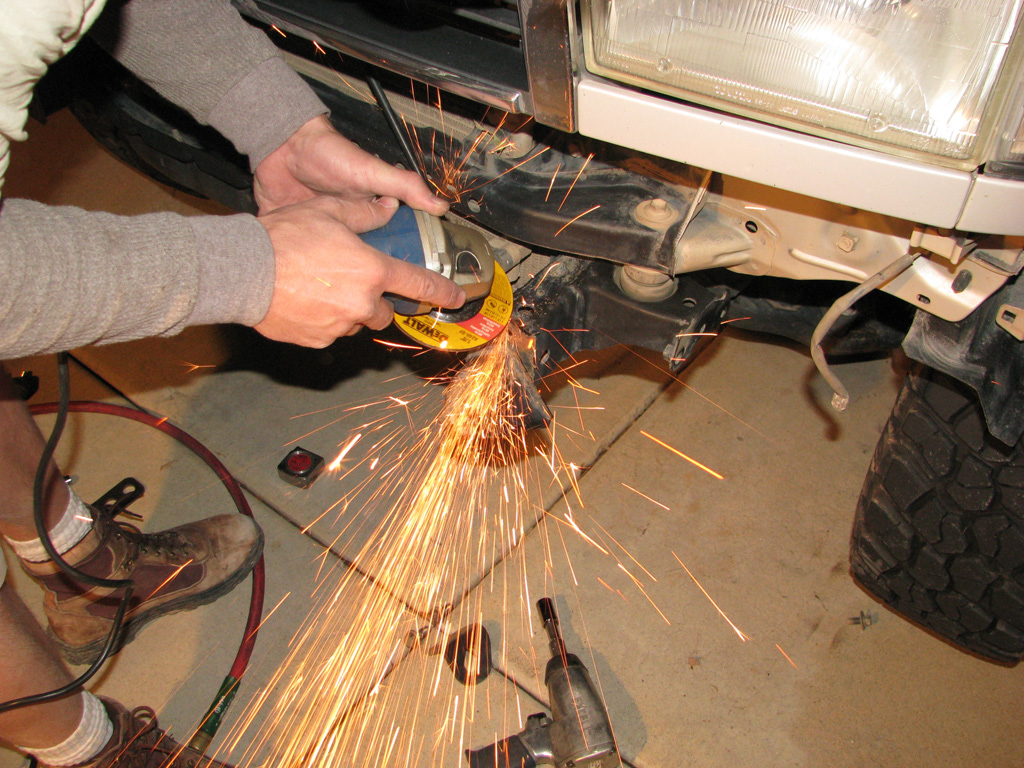
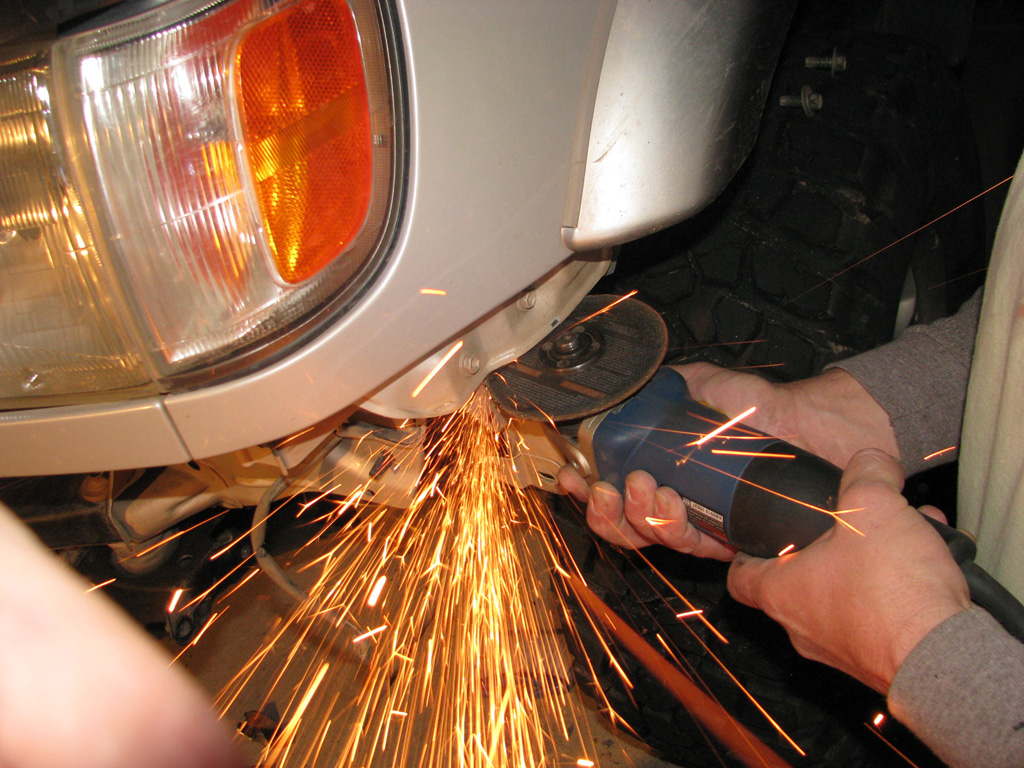
| Toyota used 3 short welds to hold on the bumper flange. You need to remove that flange by grinding off the welds. Try not to take off excess material. Just what you need to to remove the end flange. | |||
 |
 |
||
|
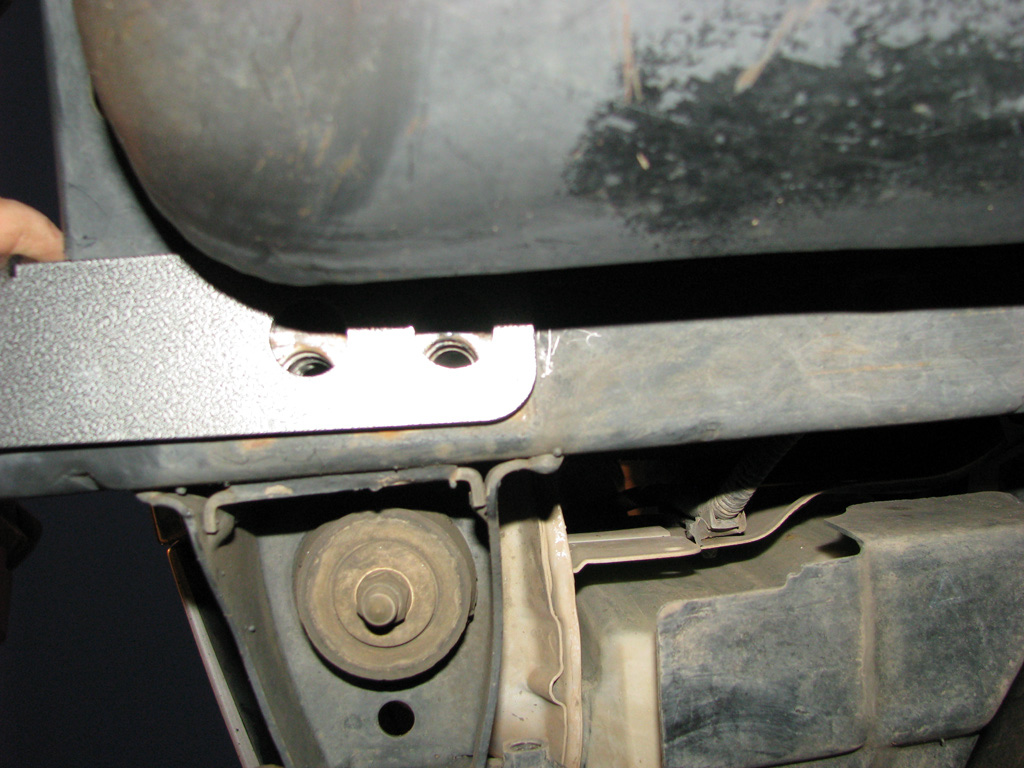
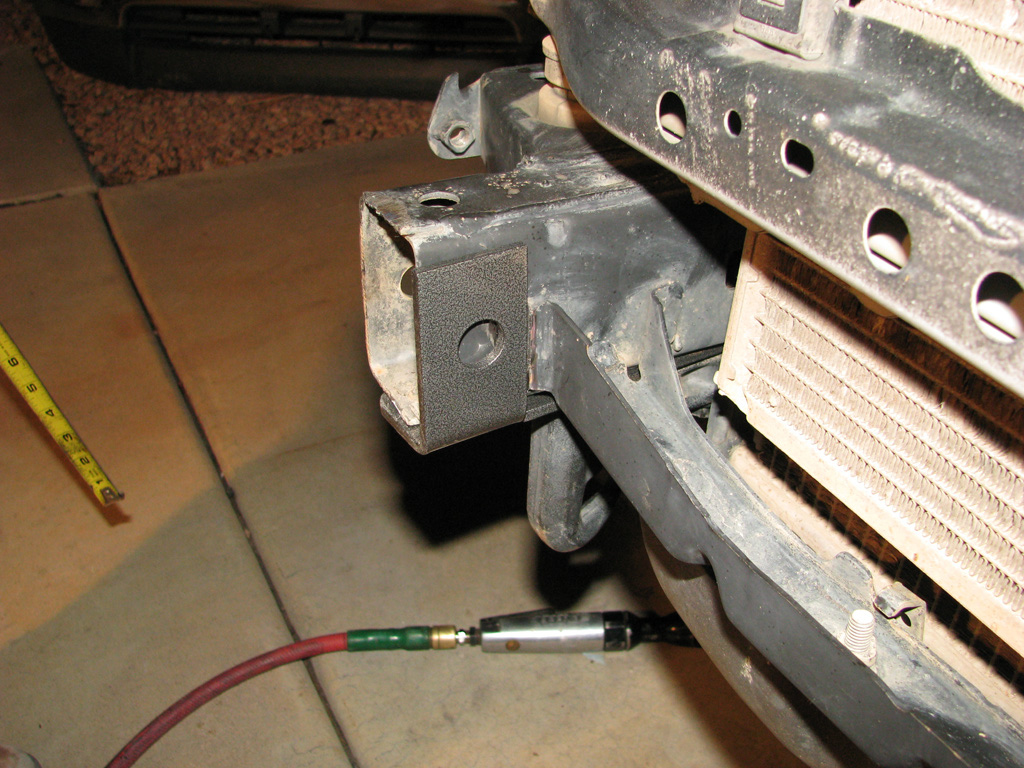
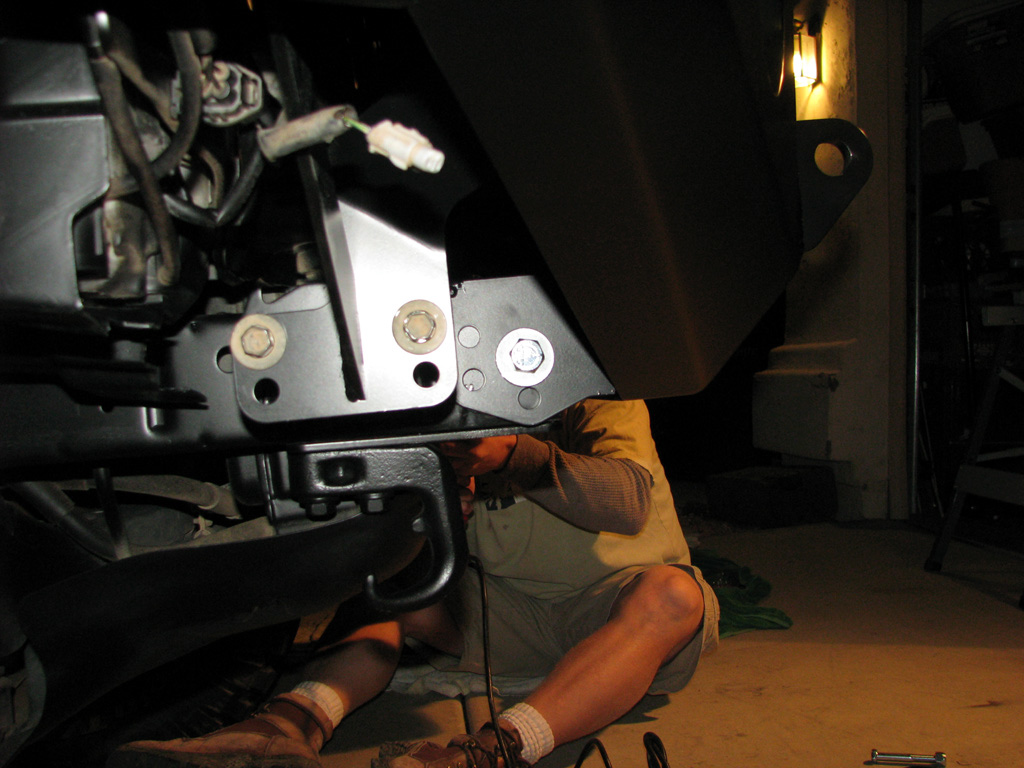
Bolt the supplied brackets in place and mark the hole to be drilled in the frame rail. We drilled a pilot hole on the bracket side, then used a 1/2" drill bit from the other side so the hole would be straight across the frame rail. |
 | ||
 |
At this point we did a test fit to see how everything lined up. | ||
|
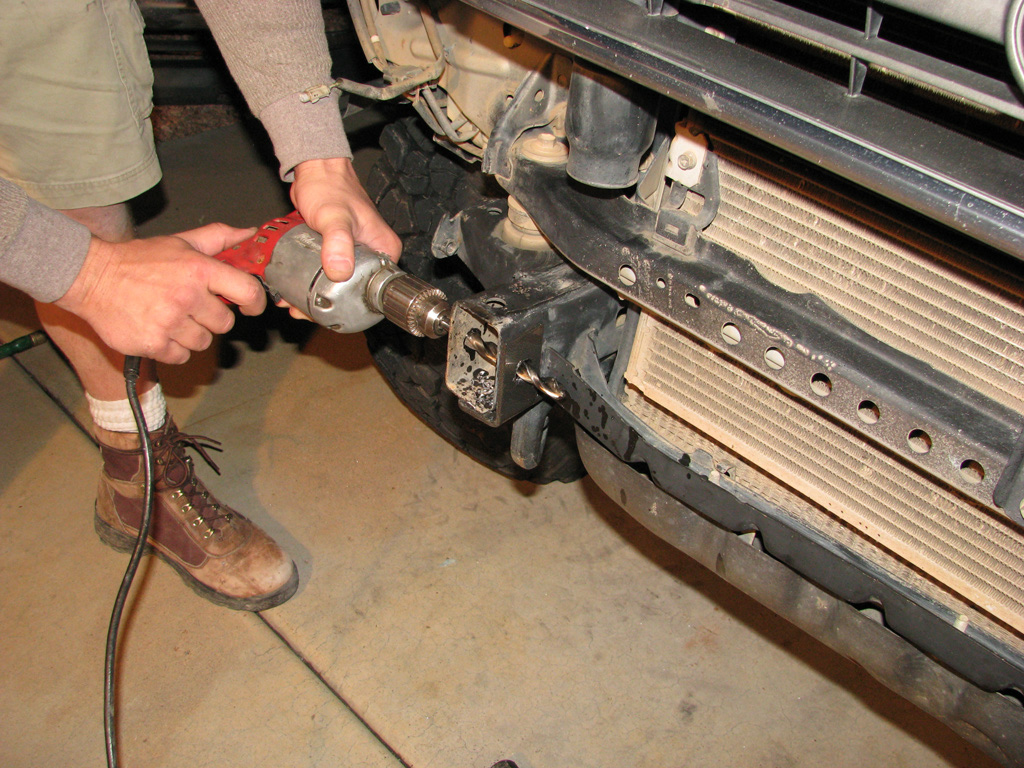
We noticed the frame rail holes needed clearanced with all the other bolts in place. We used the drill with the bumper in place and opened up the holes accordingly. |
 | ||
| Next we used a razor knife and clearanced the plastic inner fender well. We then used a cut off wheel to remove the brackets that hang down below the front fenders. If you want to remove the air box and battery you would be able to unbolt these brackets. We decided to cut the brackets as one of the upper bolts of the bracket holds the inner fender well. | |||
 |
 | ||
|
|
|||
|
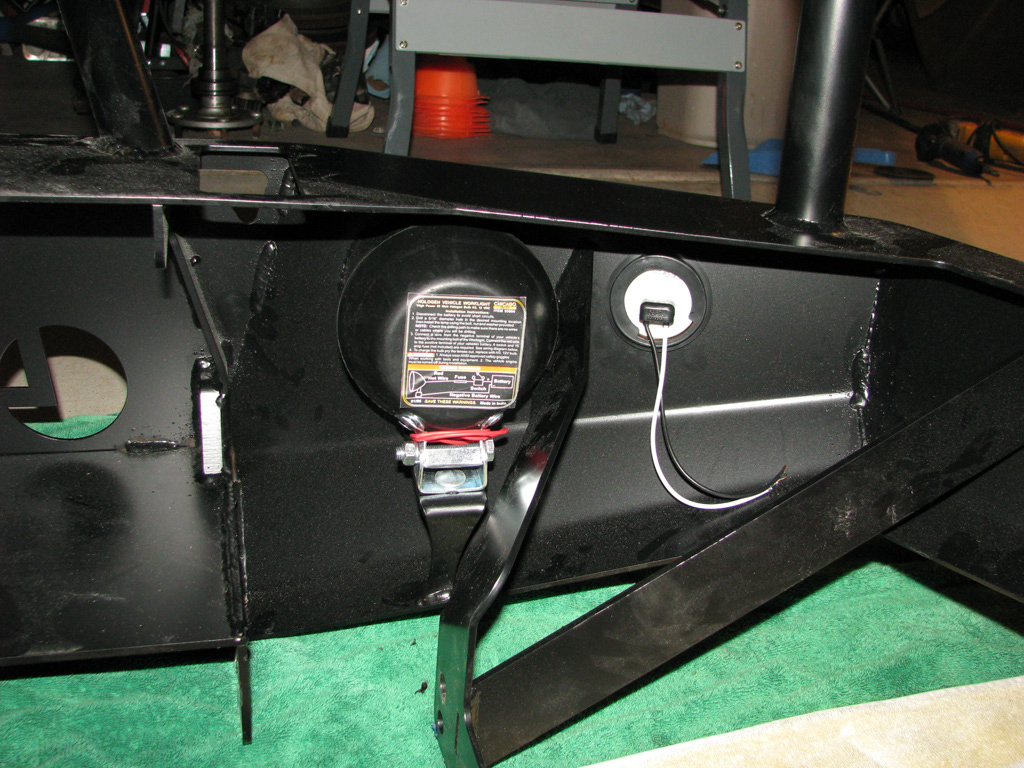
At this point we applied some satin black paint before installing the bumper to clean up the look of the front end after years of wheeling. |
 | ||
 |
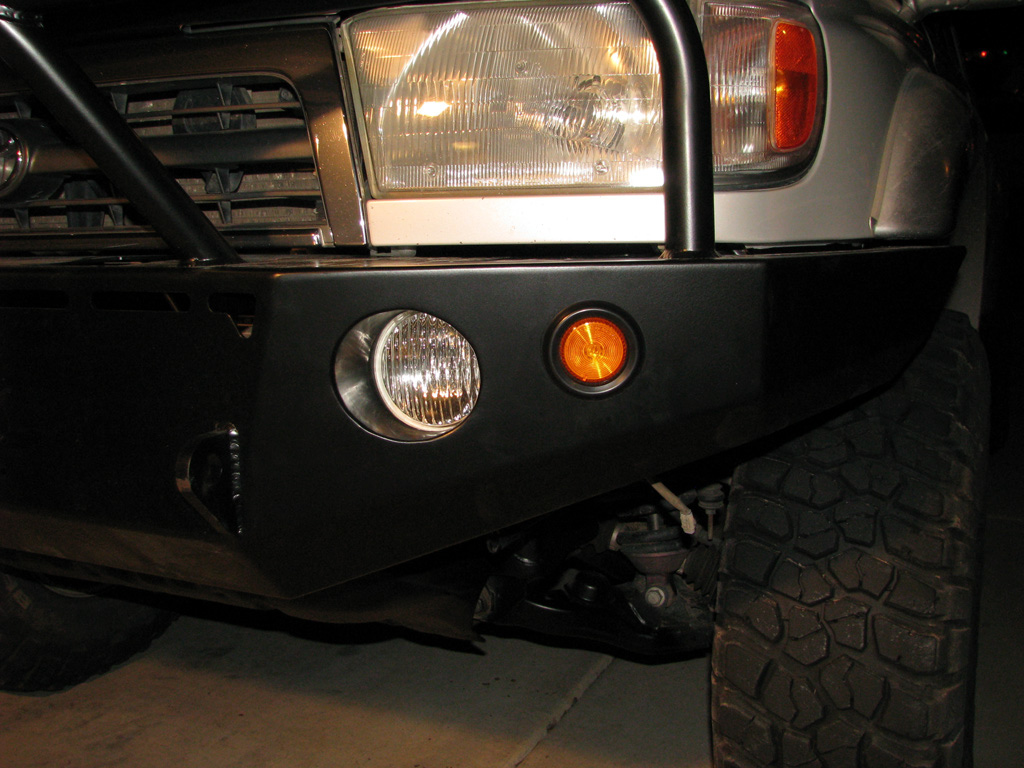
We then installed the supplied blinkers and offroad lights. The installation was straight forward and a perfect fit. | ||
|
I helped John lift up the bumper for a final time and installed all the bolts. We tweaked each side to get the spacing correct between the bumper, fenders and grill. |
 | ||
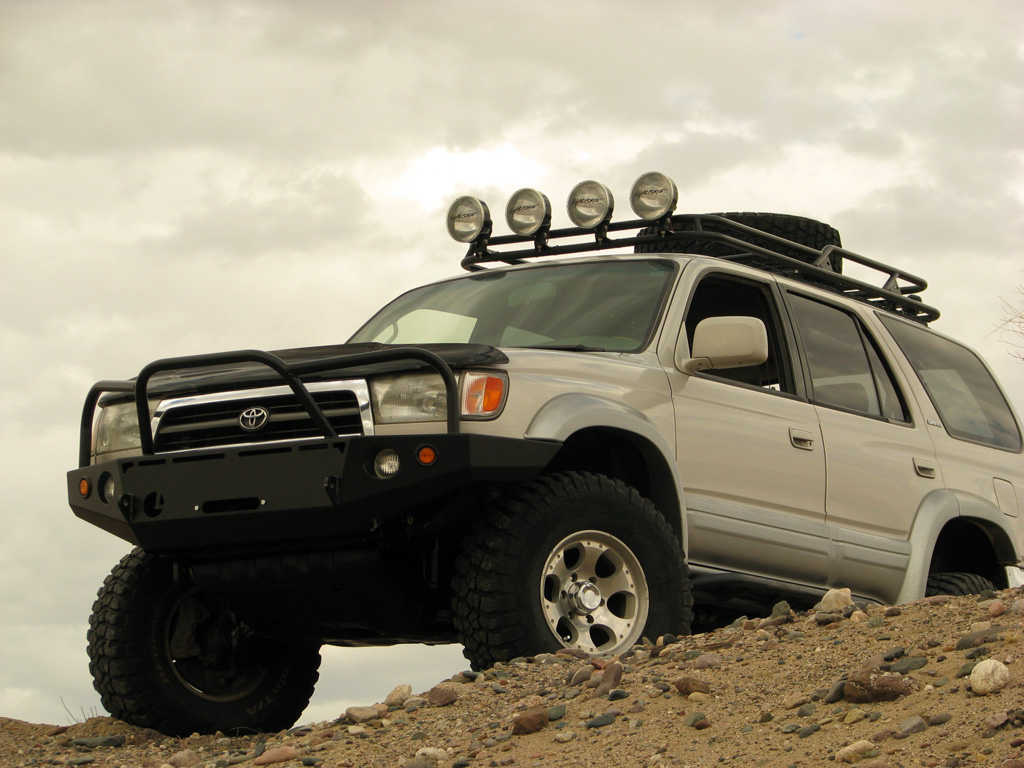
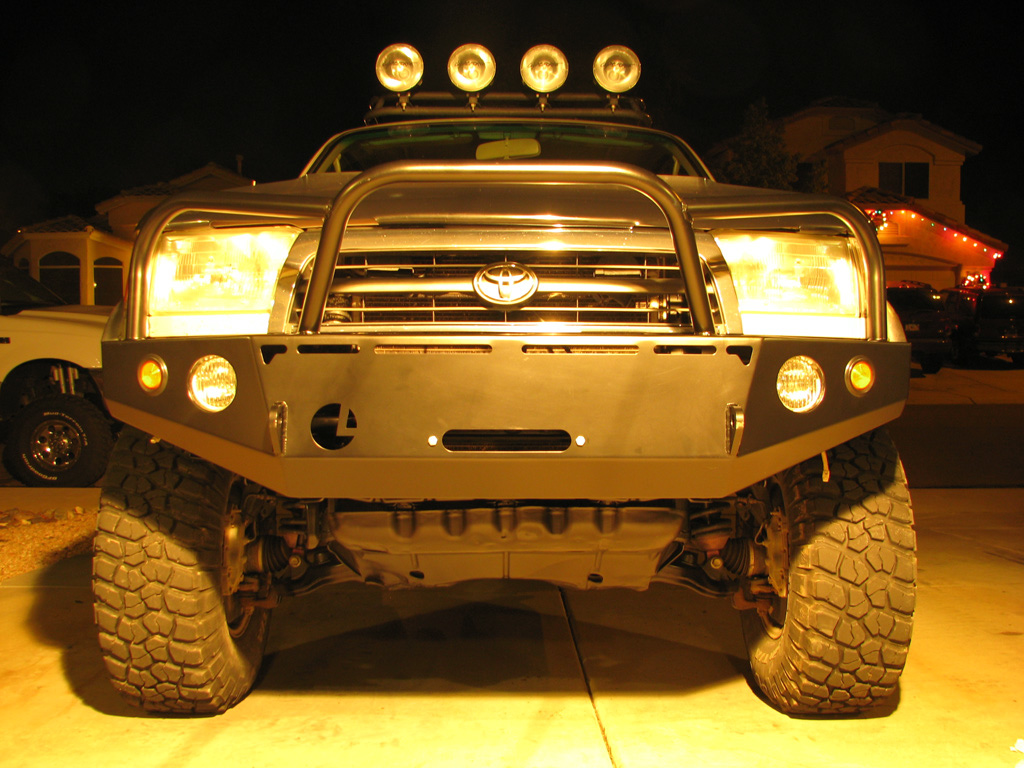
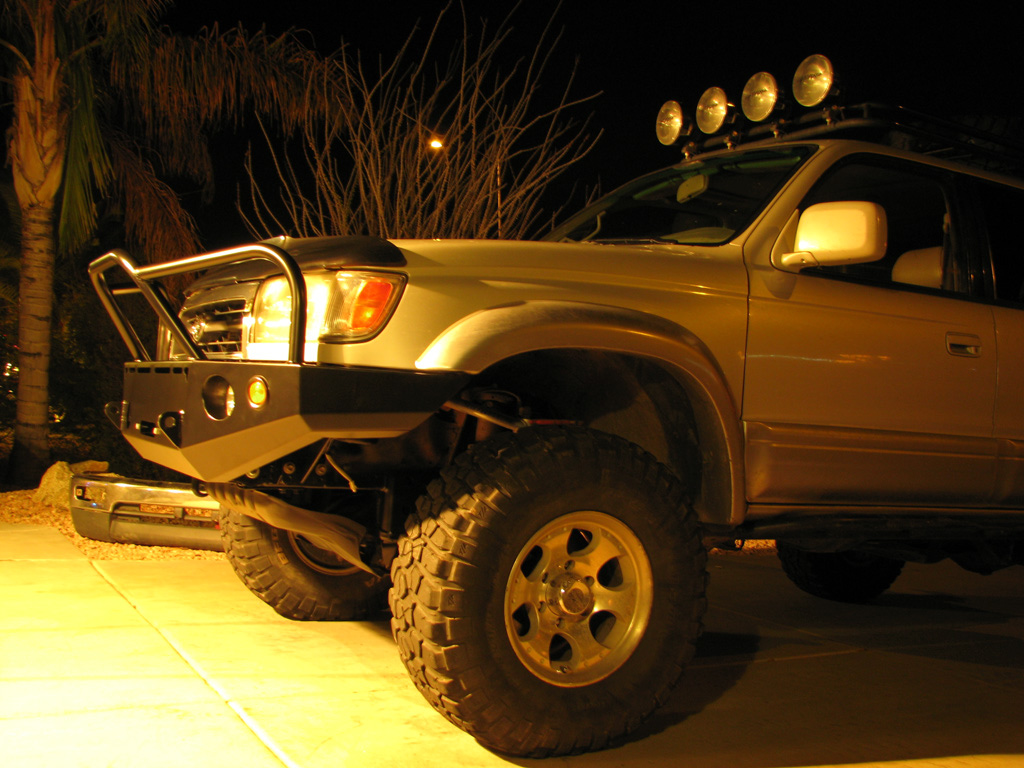
| We used blue Locktite for all the bumper bolts to ensure long life and no loosening over time. The bumper really contours the front end of the Toyota 4 Runner. The fit and finish was fantastic. | |||
 |
 | ||
| At the time of the bumper installation we did not wire the blinkers or offroad lights due to time constraints. We will update the write up as soon as we get them wired to assist with any questions you may have about the wiring. Once the bumper was installed, we grabbed the lawn chairs and beverages, and just sat and stared at the truck for an hour! What a difference in the looks of the truck. Very aggressive. | |||
 |
 | ||
|
| |||
|
Additional information on Outdoor Logic's products can be found at: http://www.outdoorlogic.net All the pictures from the install can be found HERE! Enjoy! | |||
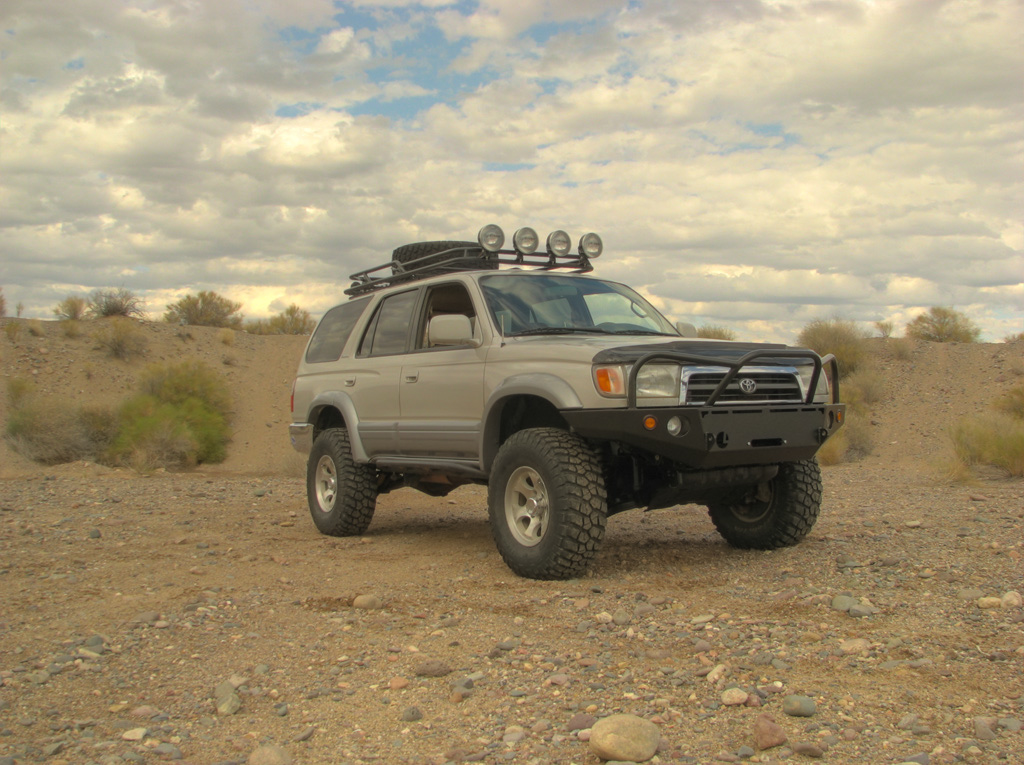
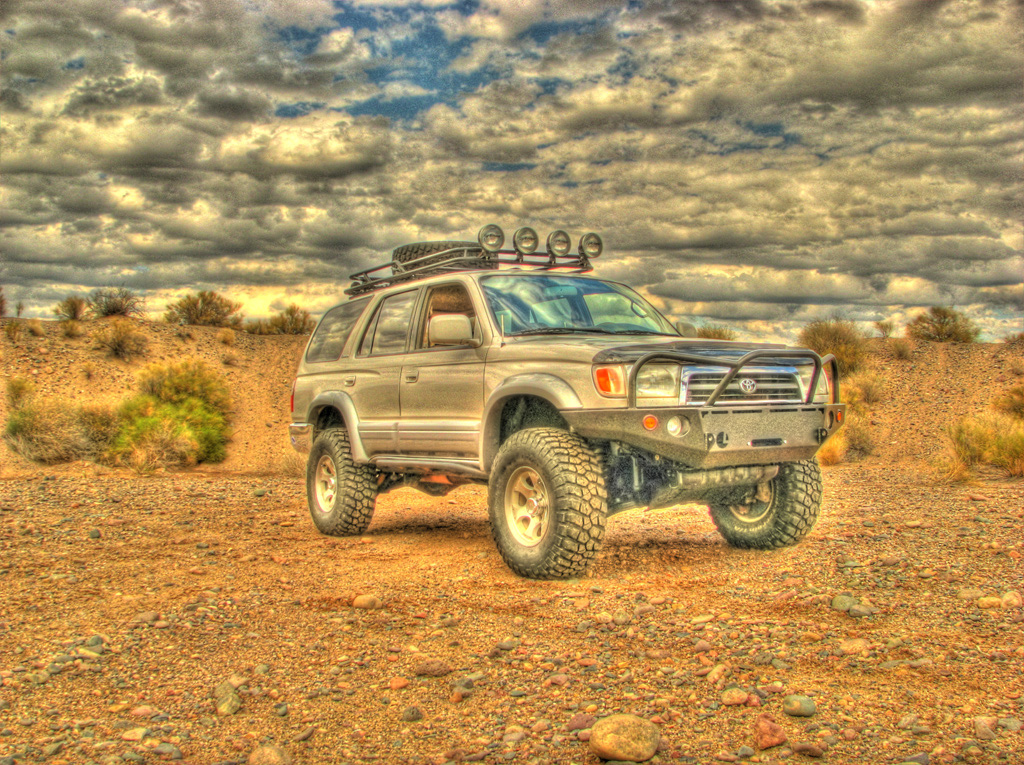
| And we went out and did a photo shoot in the desert utilizing High Dynamic Range imagery..... | |||
| For the NATURAL look click HERE. | For the SURREAL look click HERE! | ||
 |
 |
||
|
|
|||
| Johnny procured a new Smittybilt XRC10 Winch. Click here for the pictures and story of installation and testing. | |||
|
September 11, 2001 We will never forget! Please support our American forces! |
Property of Greg Banfield and may not be reproduced without the expressed written permission from me! Copyright © 1999-2011 All rights reserved
|
| |