

![]()
![]()
| Installation Procedures for Factory FORD Clearance Lights | |
|
One of the options I wanted when I purchased my truck, was factory clearance lights. I asked the dealer to add them, but they said it would be $300 to install them. I surfed around "The Diesel Stop" for ideas and found plenty of information on the procedure. I found out that Ford and other Ford parts dealers sell the wiring harness that came in factory trucks for clearance lights. The harness ended up being $32 and each light (5 total) were $5.99 each. I had to make a trip to Ace Hardware to get the flat washers and nylock 5mm nuts for the lights. Oh yea, and a tube of silicone. | |
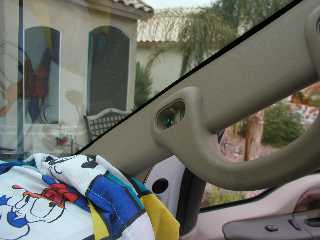 |
First thing you need to do is cover your dash to keep shavings and stuff from falling into your interior. You have to take down the front of your headliner to access the area for the cab lights and to remove and install the harness. Remove the plugs on the handle on the passenger side and then remove the (4) bolts holding the handle on.... required a 5/16" socket. |
|
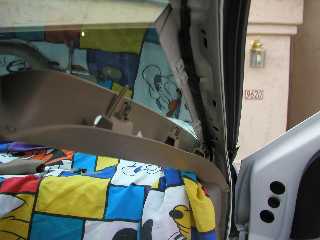
Once the handle is removed, pop the pillar cover off. To get it out tilt towards the drivers side and wiggle. It will come out! Same thing with drivers side. |
 |
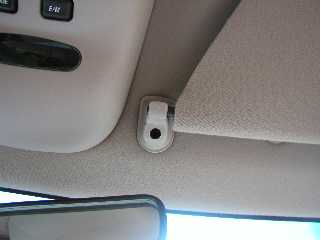 |
Now you need to remove all the screws that hold the visors parts in.... |
|
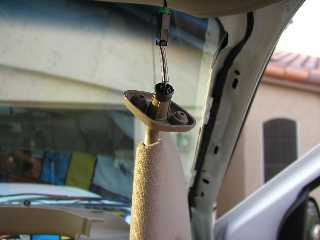
If you have lighted vanity mirrors be careful of the wiring that runs inside the visor mount. Just disconnect the plug and you are good to go..... |
 |
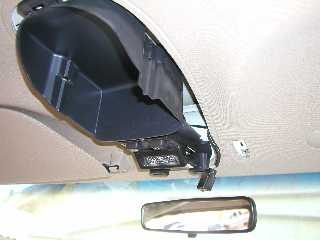 |
This was the nerve wracking part. Just tug on the plastic cover for the overhead console to pop it loose. It sounds like it's breaking apart, but it's just the clips coming loose. Leave the inner portion attached. You can work around it! |
|
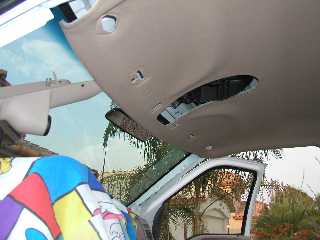
There are two additional plastic clips that hold the headliner in the front. Wiggle and rock them to get them out... they don't like to come straight out. Once you get the headliner loose in the front, reach in there and pop the plastic rivets that hold the harness in... the harness begins in the passenger kick panel. |
 |
 |
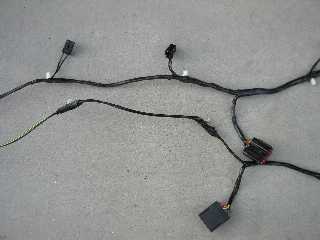 |
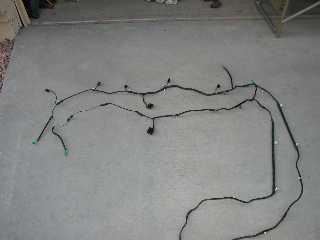
| Here's a good comparison of the wiring harnesses. You see the additional nodes on the right picture. Those are for the clearance lights. We had to remove the passenger kick panel and really fight the plastic rivets behind the glove compartment. But they finally gave up the fight. We did not re-rivet the portion of the wiring harness that runs down the kick panel. Just couldn't get our hands in there. | |
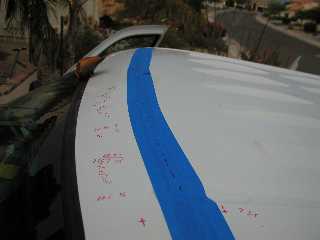 |
Next came the very important part... measuring! Just trying to find center on the weird shaped roof was a challenge. Once the center was determined we used the following measurements:
| Ộ ----- 13"----- Ộ --8"-- Ộ --8"-- Ộ ----- 13" -----Ộ |
|
| Vince made a template out of nylon so we could set the holes in the proper location. We used a center punch to indent for drilling. The tape was used to reduce the flaking of the paint during the drilling process. | |
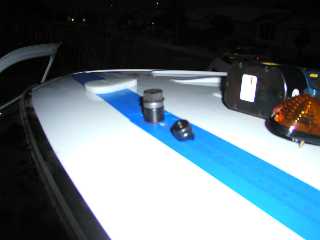 |
We then used a Knock Out (7/8") tool to make the center holes for the lights. The outer holes for the studs were drilled to 1/4" to give us some fudge room. We kept the shop vac hose handy to vaccum the shavings as we went along. |
|
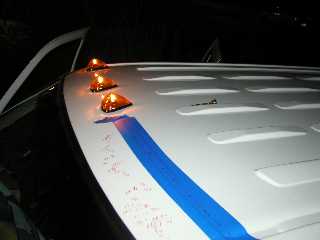
Getting excited and just had to put the lights in as we went and give them a try. Three down, two more to go! At this time we were in a full blown desert sand storm. We could smell the rain coming too! |
 |
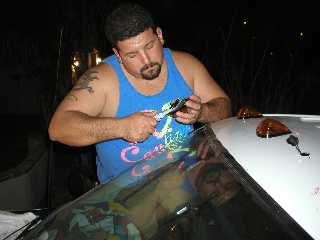 |
Vince doing some final trimming on the lights for a good fit. The last thing to do was pop the harness rivets back in place, put the headliner back up, visors, pillars and final clean up. And getting all the grease pencil markings off the roof! |
|
The finished product. You can see how dusty it is in the background. That storm never did make it to us! I absolutely love the look! |
|
| Had to snap a daytime pic the following morning as I came into work! One final note: Be sure to triple measure and then mock it up once or twice to get a good feel before you punch them holes. Then be prepared for every friend you ever had tell you (jokingly) "Hey those are crooked!" | |
| Technical article and
photos are copyright © 1999-2003, Motoman's
Madness. Do not duplicate without express permission from
Greg Banfield aka Motoman!
|
Return to Motoman's Madness |