![]()
![]()
|
Performance Unlimited Track Arm System Pictures and Story By Greg Banfield | |
|
There are multiple upgrades available with this system. The ones that I ordered were the new StageII rod ends, upgraded the tubing to RaceProof™ thickness, and chrome powder coating (can you say bling bling?)! I also sent my draglink in to get it chrome powder coated. When I originally ordered my tie rod, they only had the TrailProof™ size. I decided after three years of abuse to upgrade my tie rod to the MASSIVE ROCKPROOF™ size.......and let's not forget the chrome powder coating on that too!! I took my track bar off the truck and centered the body over the axle. Then I measured the distance from the lower mount to the upper mount to get the correct static length. I then forwarded this information to Randall. He has detailed steps on how to measure for all his front end components! Click here! | |
|
|
|
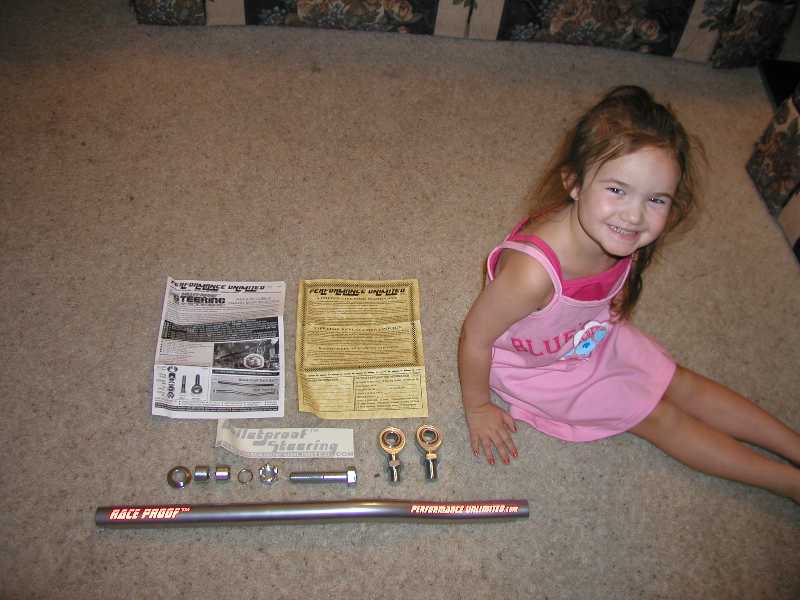
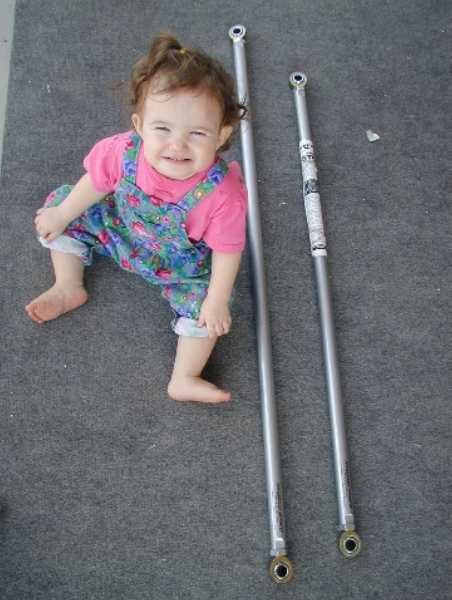
| Happy days when the UPS guy knocked on the door with my Performance Unlimited box!! Here's a quick inventory of the TRACK ARM box! | This was how long ago my tie rod and drag link system came in the mail! My little bambino has grown up! This picture is from the original install.....click here for that article! |
Parts List:
|
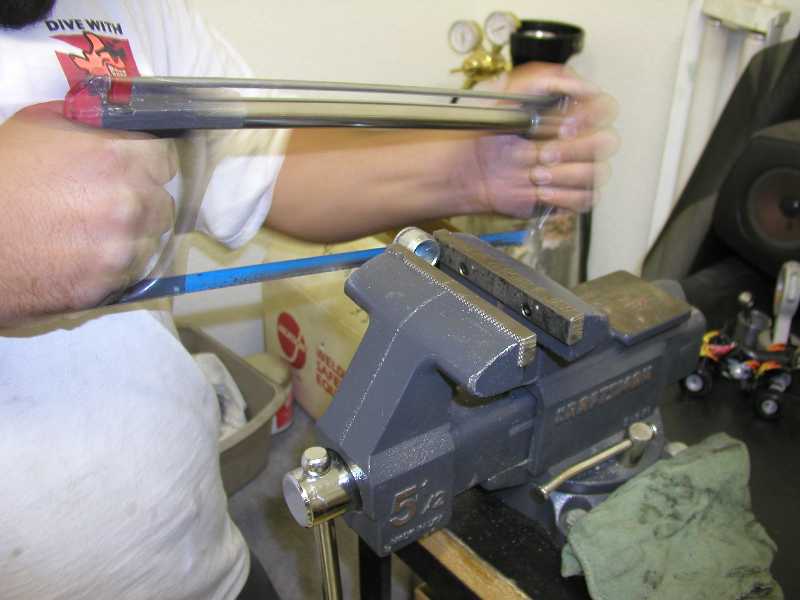
Tools needed:
|
|
|
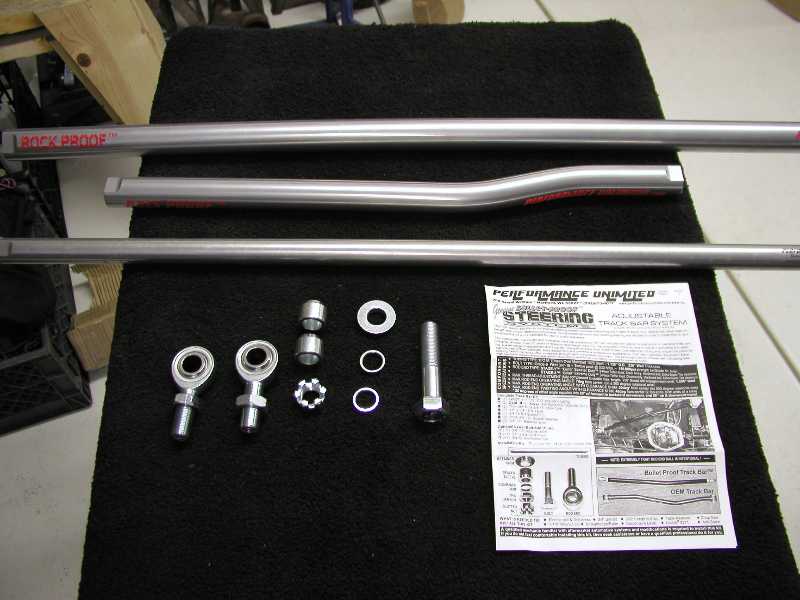
I was able to get a personal picture of the three
different sizes of tubing offer by Randall.
|
| This is what I started with....... I had to put the new draglink on to get it over to Vince's house. He has such a nice garage to work in and take pictures! Thanks Vince! |
|
|
|
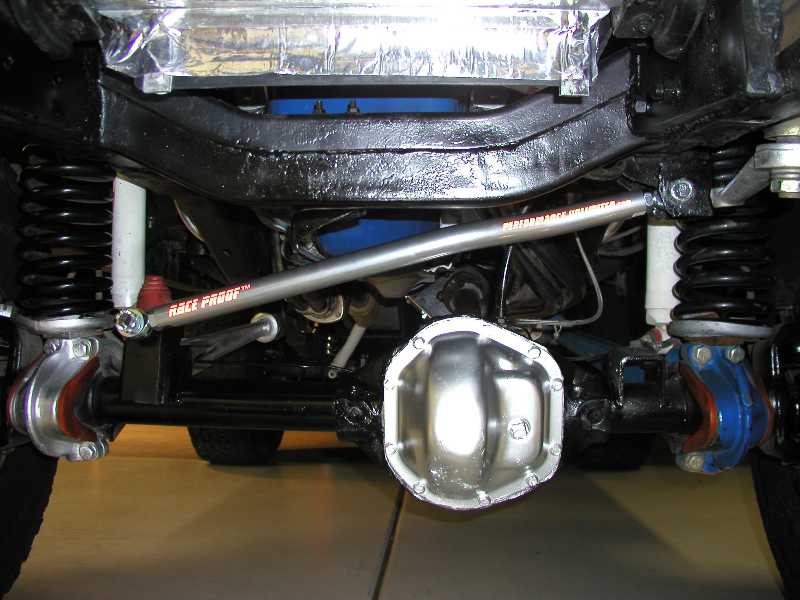
This is the complete track bar system, my draglink and my new tie rod upgrade. So incredibly simple! |
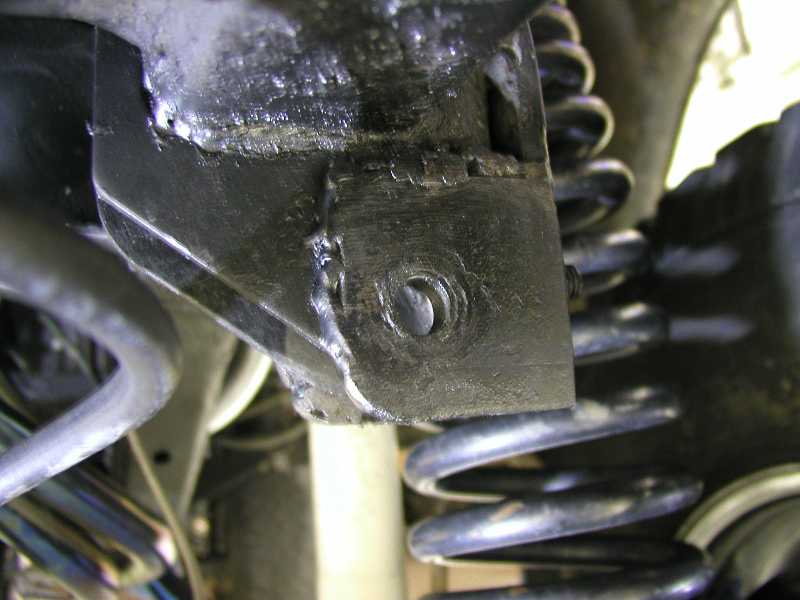
| After the old track bar was removed I had to take some material off the original mount to clear the jam nut on the Stage II rod end. I just used my Dewalt grinder to clearance the mount. Also, the hole was enlarged to fit the 3/4" Grade-9 F911® bolt that will be used for the upper end of the track bar system. |
|
|
|
Because every Bronco is a little different and/or someone (myself) might have over tightened the nut and bolt on the original mount, I needed to clearance the mis-alignment shim so the StageII rod end and shim would fit. These instructions are covered in detail on the instruction sheet provided by Randall. |
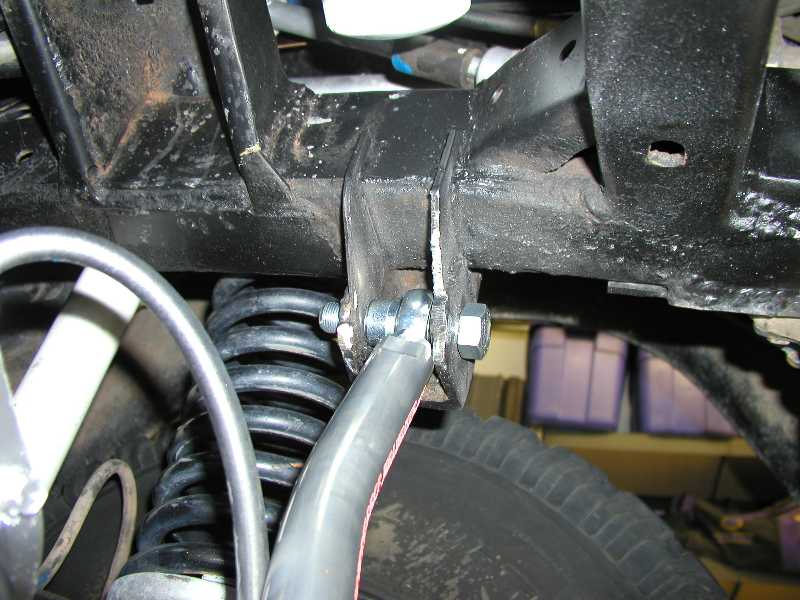
| Once all the clearancing was completed it was time for a test fit. Looks and fits great. I removed the track arm and hardware and touched up the area with fresh satin black paint to prevent corrosion. Once the paint dried it was reinstalled and torqued to specs. Loctite was applied to the nut and bolt for added security. |
|
|
|
Now our attention was diverted to the lower mount. The factory lower mount already has a 3/4" bolt. All you do is slide on the shim and the lower Stage II rod end, tighten the nut to torque specs provided by Performance Unlimited's directions. We also put a new cotter pin in for safety reasons. |
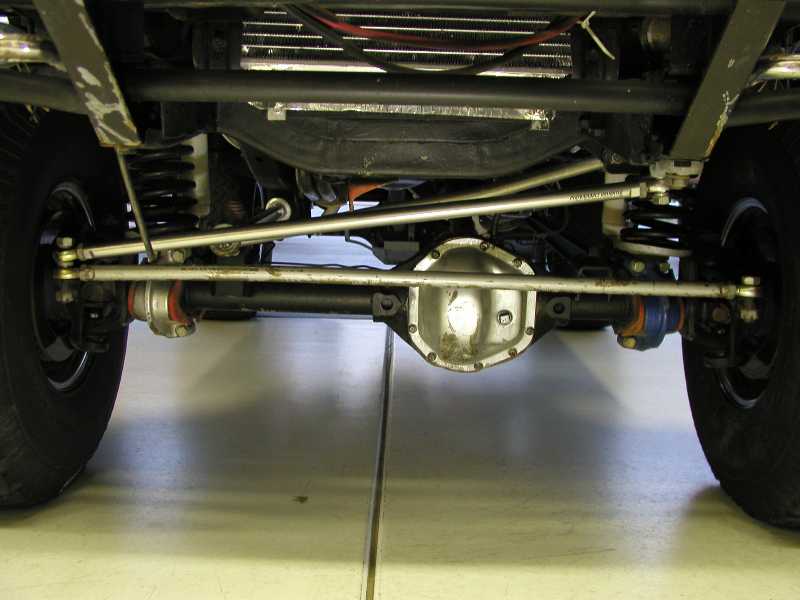
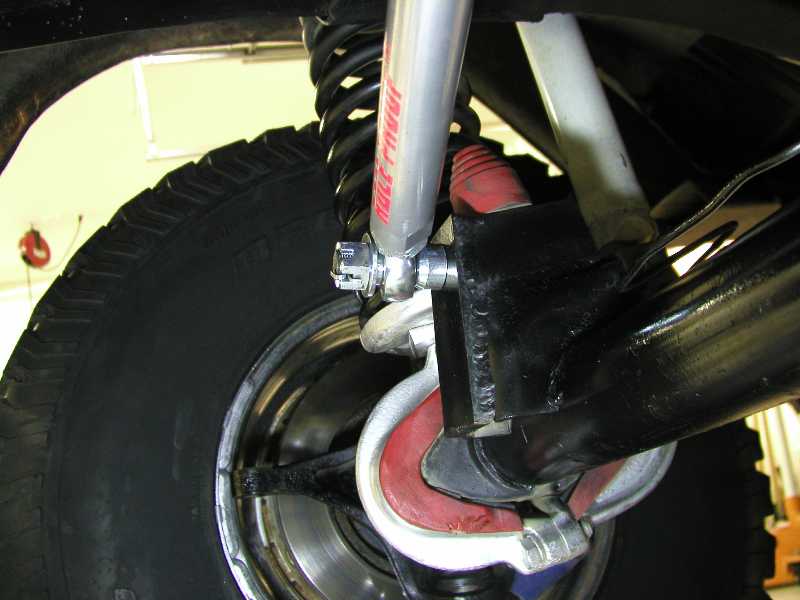
| The track arm completely centered the body over the axle. Be sure you have adequate clearance on compression to miss the front diff. |
|
|
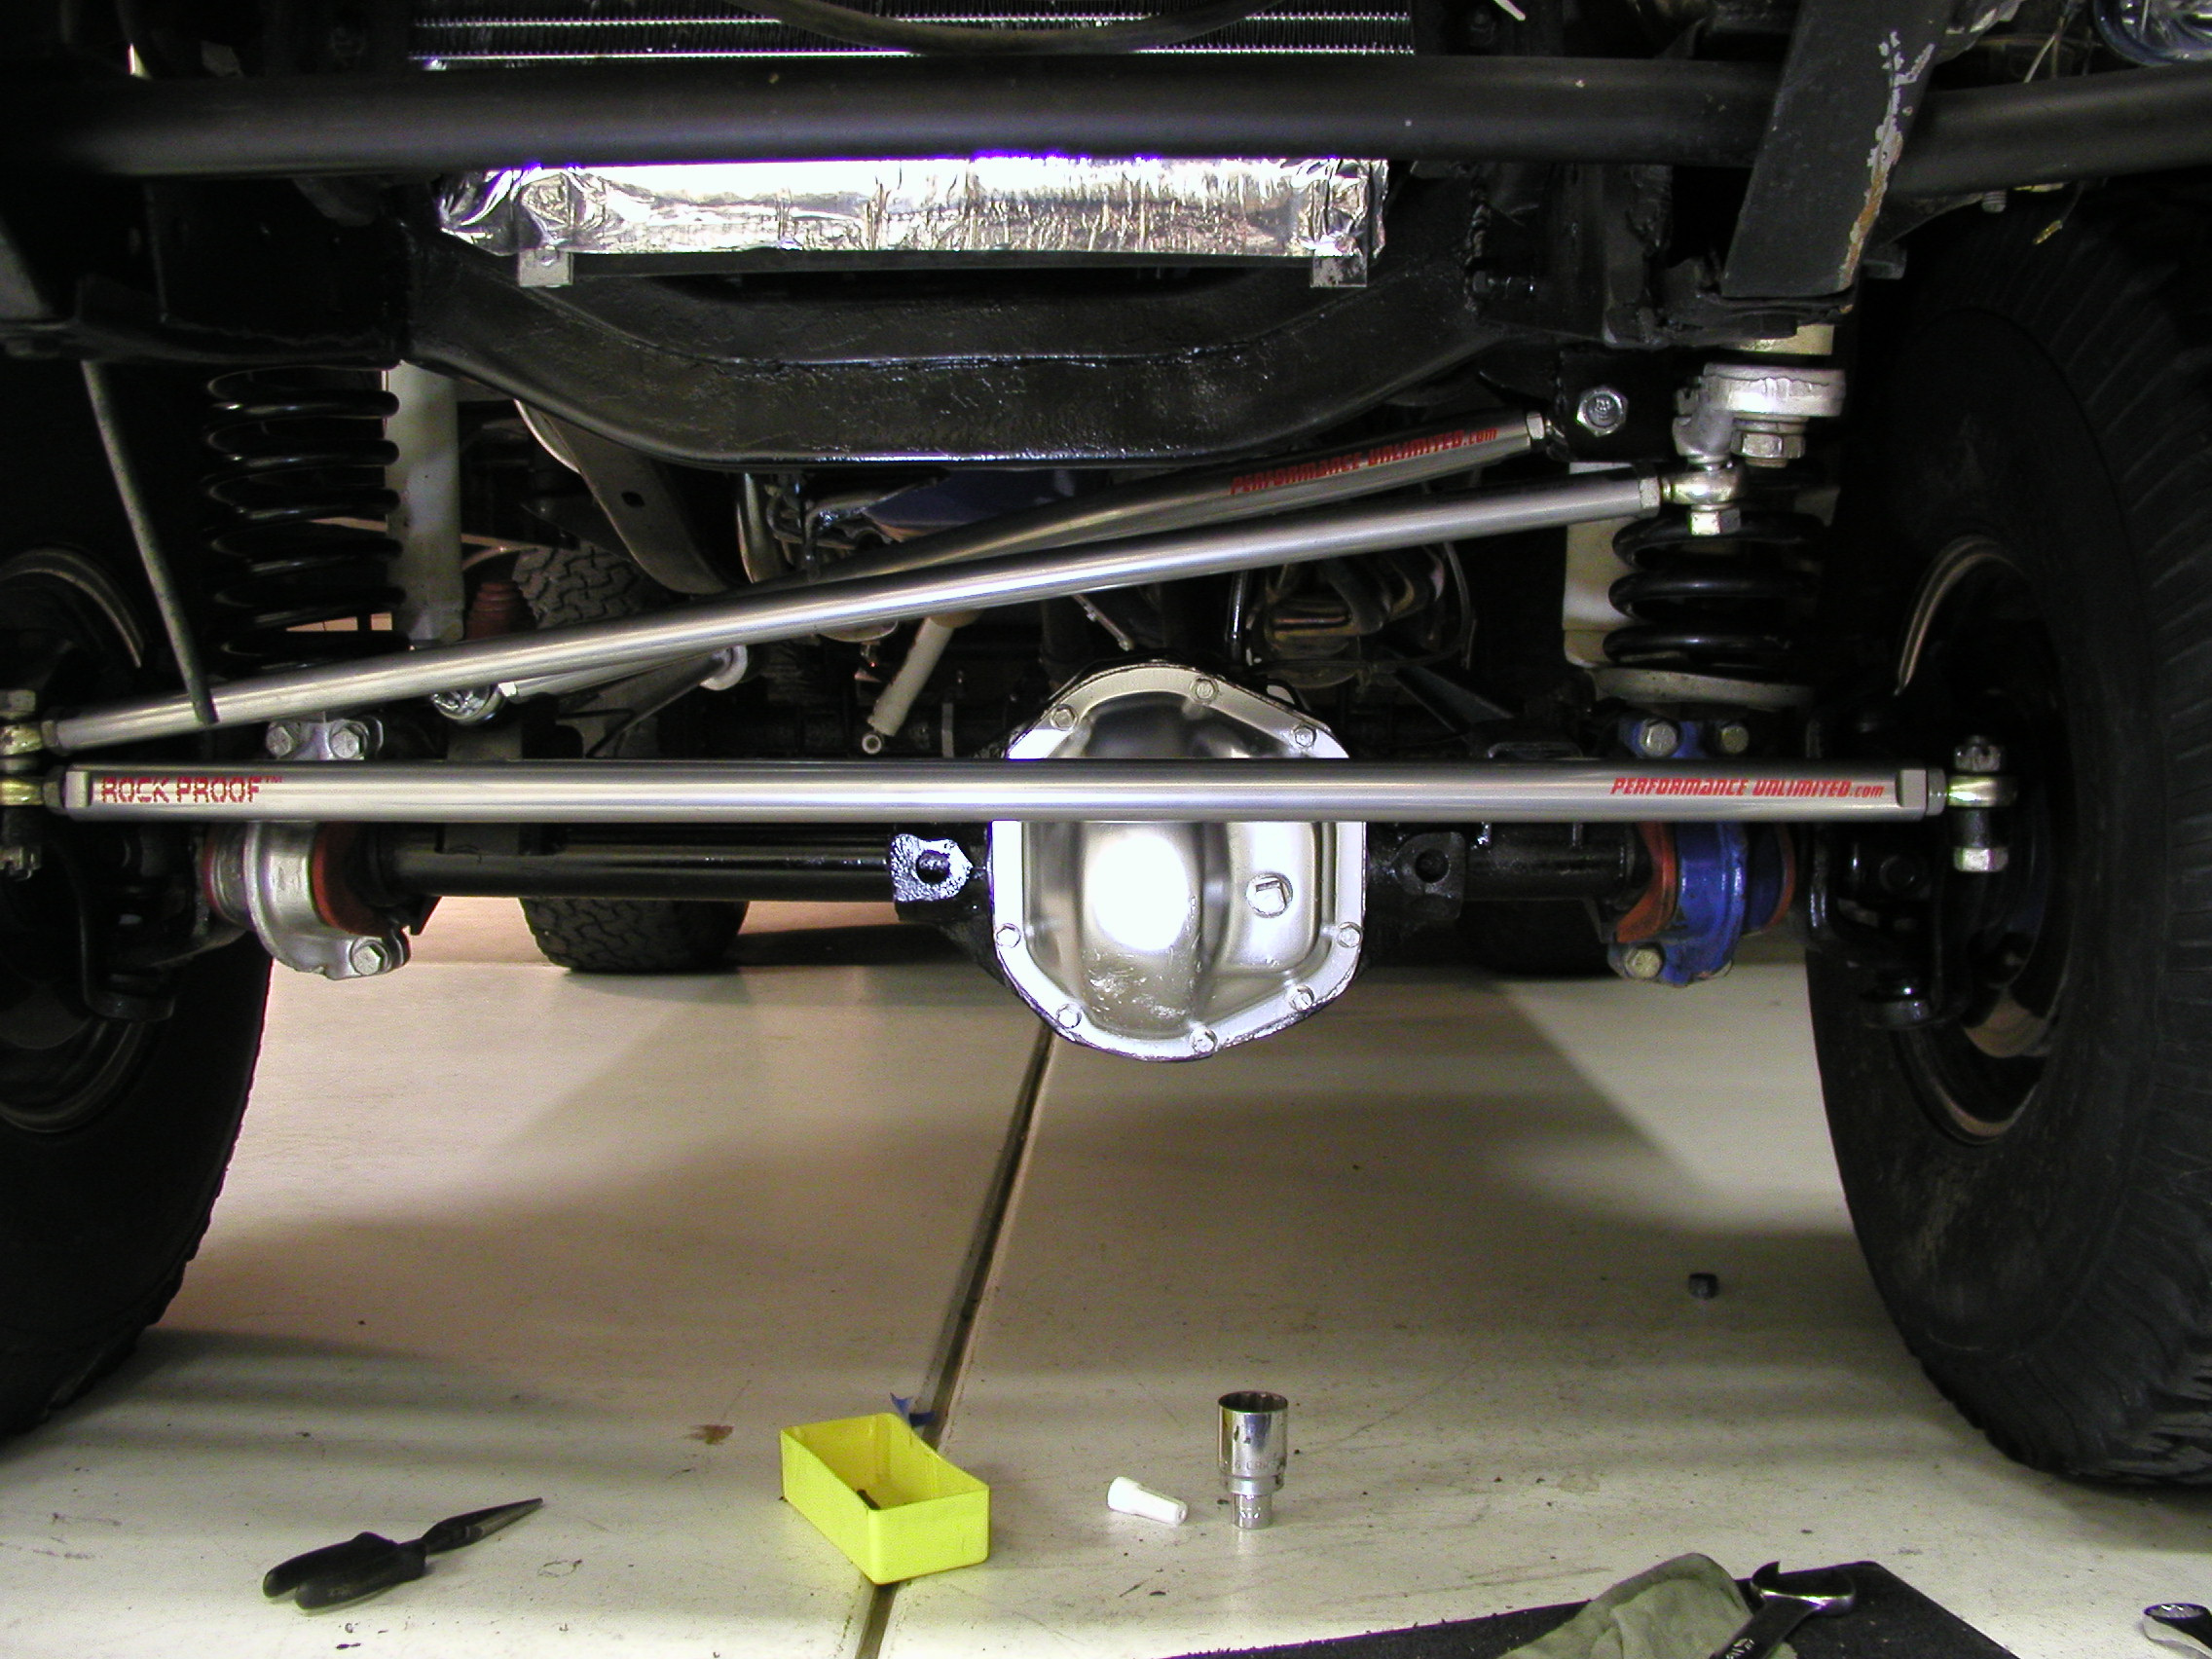
Once we were through with the track arm system we changed the Stage I rod ends over to the new RockProof™ tie rod. The draglink was reinstalled also. Now it was time for alignment. Please refer this to a qualified technician. Or if you are so inclined..... put a piece of masking tape on each front tire vertically at about 3 o'clock. Put a mark in the center of the tape. Measure the distance between the two. Now roll the truck back until the tape is at 9 o'clock. Measure the distance. The first (3 o'clock) measurement should be 1/8"-1/4" shorter then the rear measurement. That is called TOW IN. This can be adjusted very easy by loosening the jam nuts on each end of the tie rod and then rotating to change the length of the rod. Be sure to adjust in little increments till you get the desired 1/8"-1/4" Tow in..... (Early Bronco Spec). That's it!!! Time to go romping! First trip around the block felt fantastic. A very positive feedback from the suspension and steering. We took off to Gila Bend to run the sand washed that weekend after we finished installing Randall's product. What a blast! Not even a hint of death wobble. No clearance issues, just pure Bronco fun!! |
|
|
Click on image to see a high resolution picture of final product! (800K) 2200x1700 |
|
|
As usual the quality of Randall's products are top notch with attention to detail. Thank you for putting out a quality product! Don't forget to visit http://www.performanceunlimited.com and tell Randall Motoman sent you! Other related articles to view!
|
|
| Technical article and
photos are copyright © 1999-2003, Motoman's
Madness. Do not duplicate without express permission from
Greg Banfield aka Motoman!
|
Return to Motoman's Madness |