![]()
![]()
|
"Ducati
Airbox Mod" | |
|
2011 * 2010 * 2009 * 2008 * 2007 * 2006 * 2005 * 2004 * Bike Tech * Videos |
|
|
I decided to go ahead and open up my airbox to get more flow. The factory intake hole is 1.5x1" ..... completely inadequate for a high performance Ducati engine. I read through all the post I could find on Ducati.Ms (Hypermotard section) and decided to tackle it.... |
|
|
Tools needed:
|
|
|
Here in the valley we have one of the few (Ducati
Hypermotard) certified mechanics... his name is Eric at
DP Motorsports. A couple years back he was on the Hypermotard
Pikes Peak team. He learned all kinds of tricks for these bikes. I asked him
a few questions about my bike after I got back from San Diego. While in
traffic I took off from a light and my clutch squeaked..... I was concerned
so asked him if that was normal. He said that's common when the Hyper's
clutch gets hot. He suggested that I cleaned out the clutch dust from inside
the clutch cover and open it up with a few holes to keep it cooler and
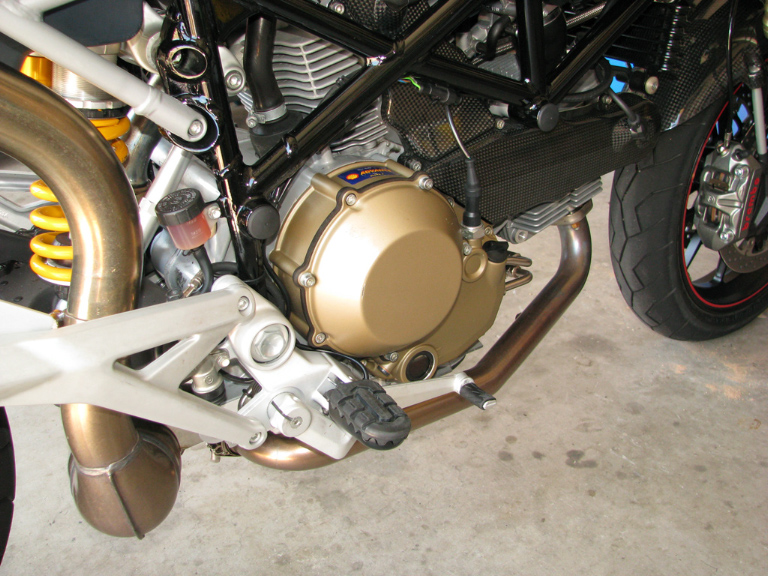
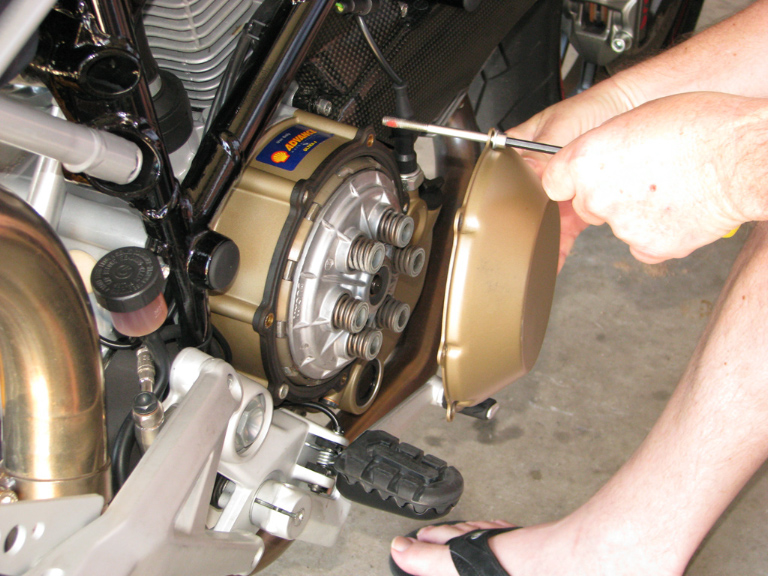
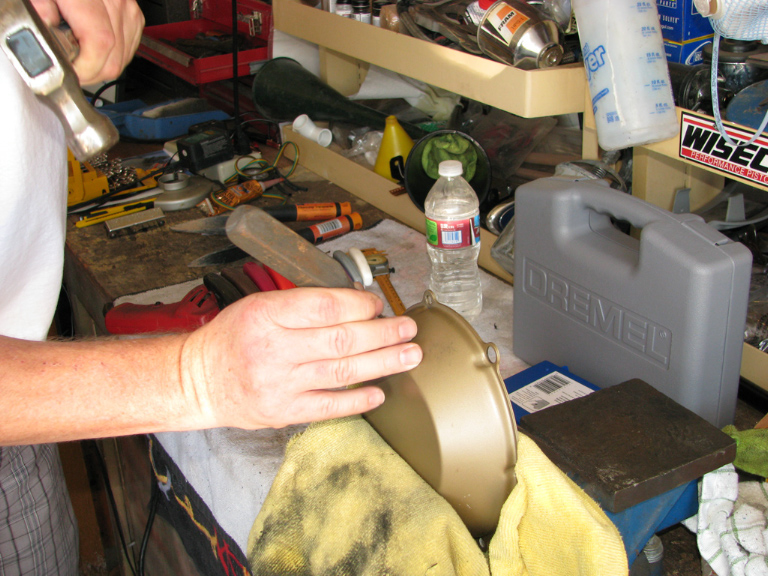
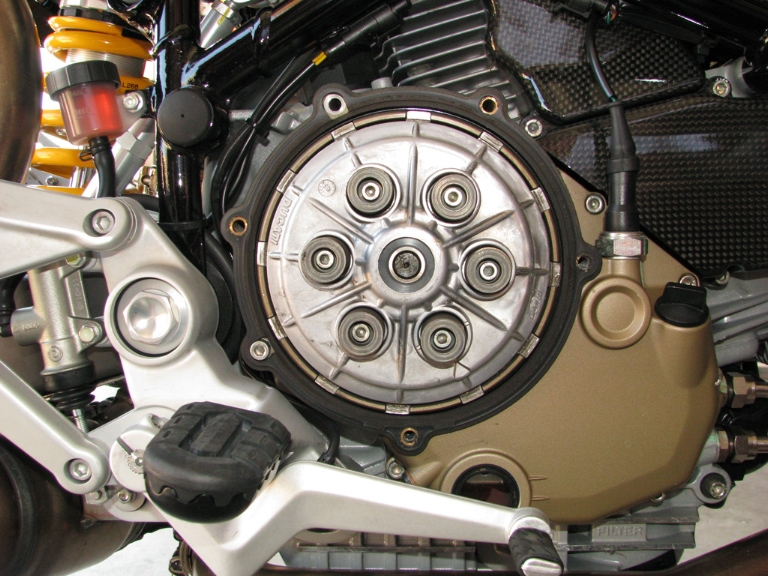
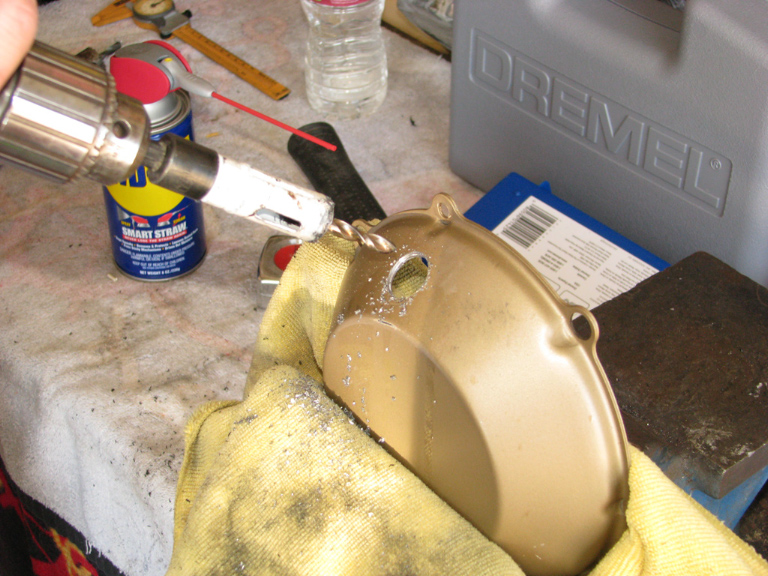
easier to clean out..... here's what we did...... Factory clutch cover
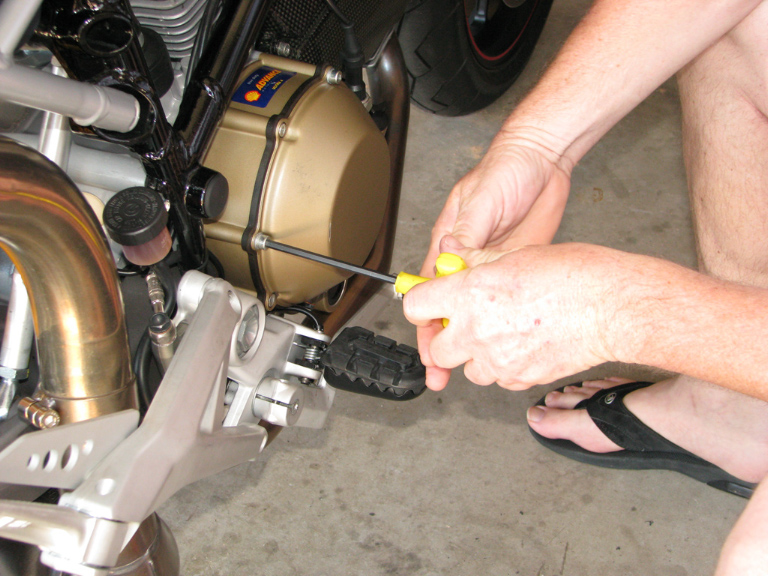
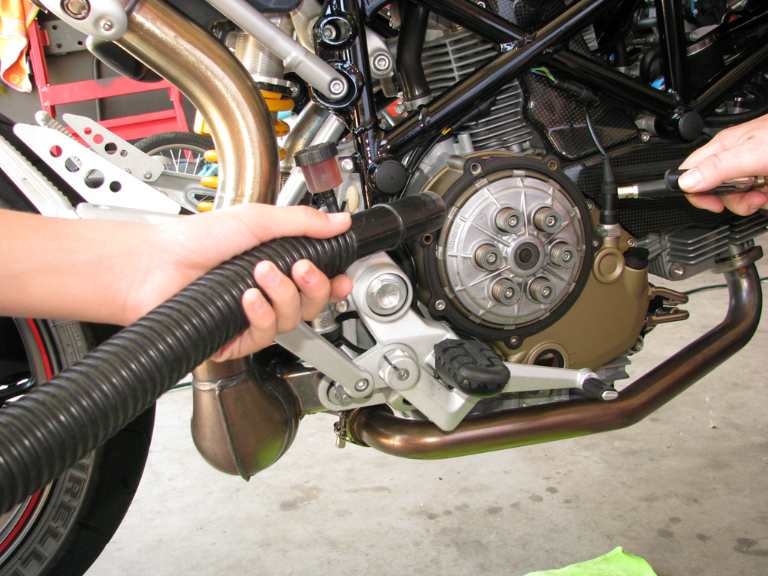
 Shelby and I then cleaned out the stock clutch with high pressure air and a vacuum.

|
|
|
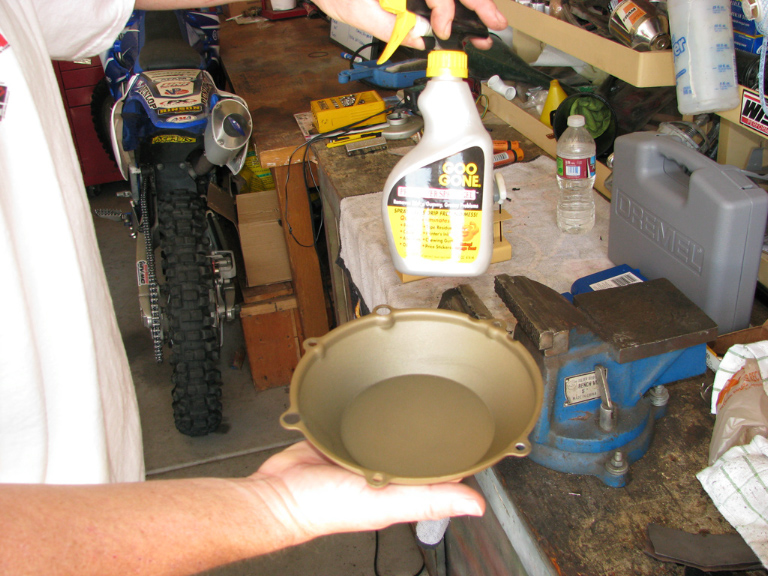
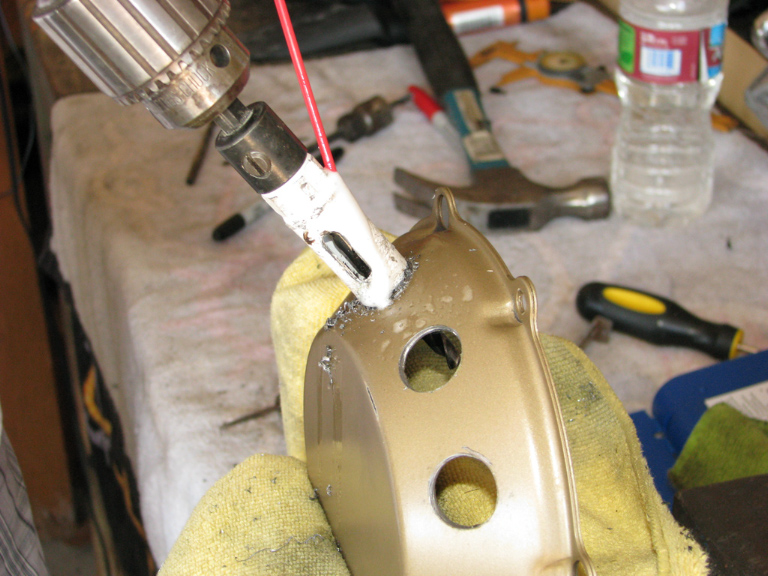
We used some Goo Gone to get rid of the sticky stuff
on the inside....
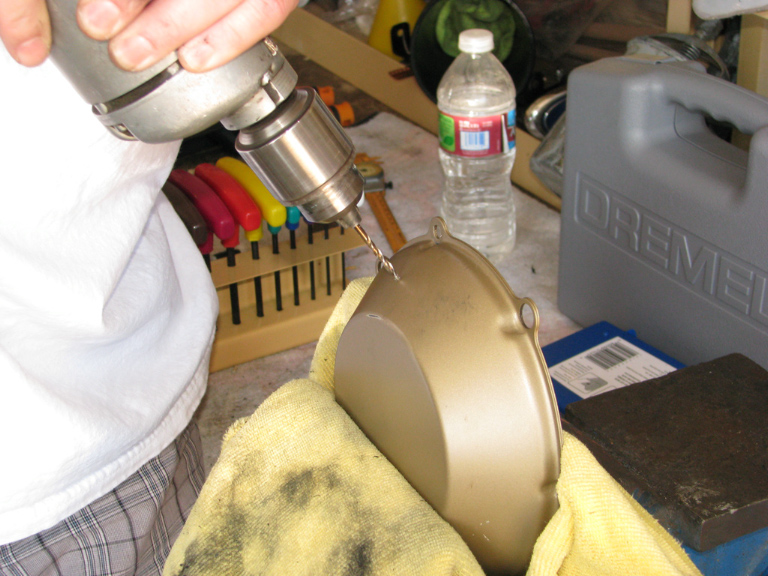
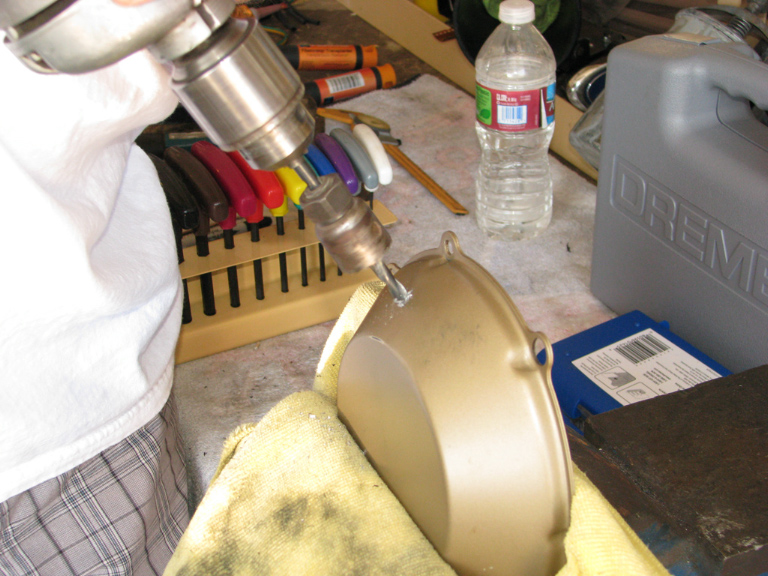
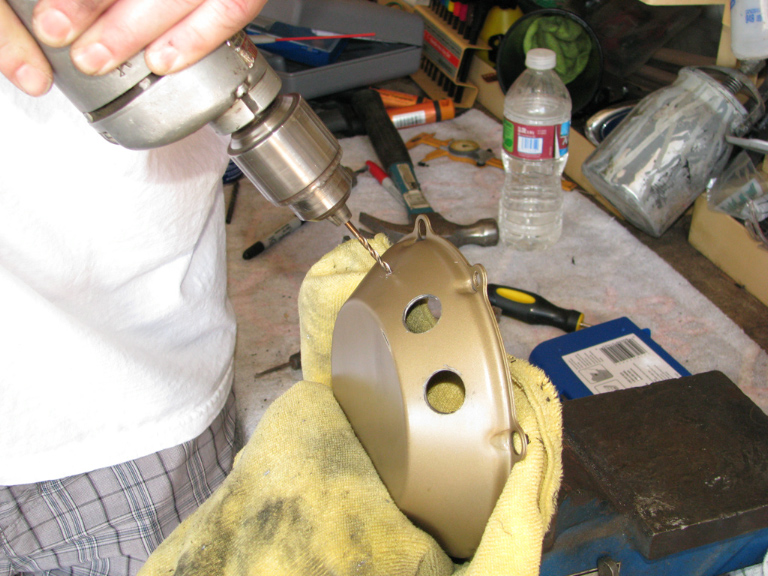
 I center punched the holes then drilled a pilot hole....
| |
|
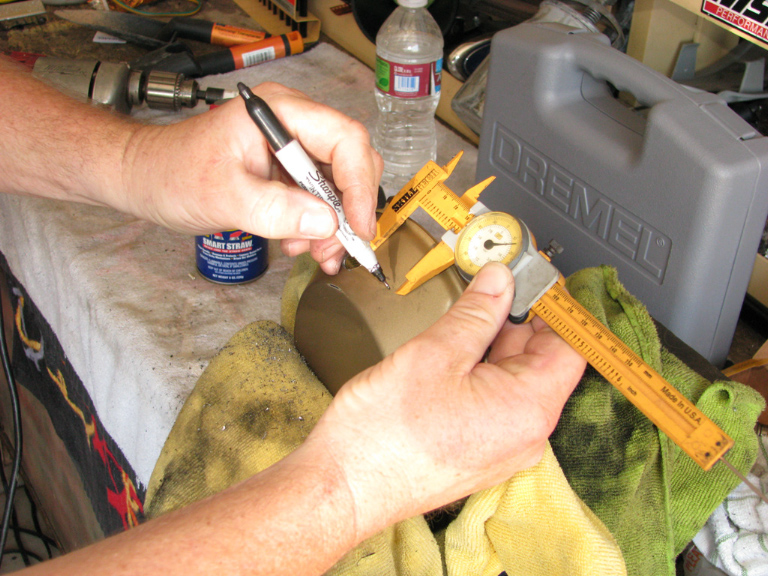
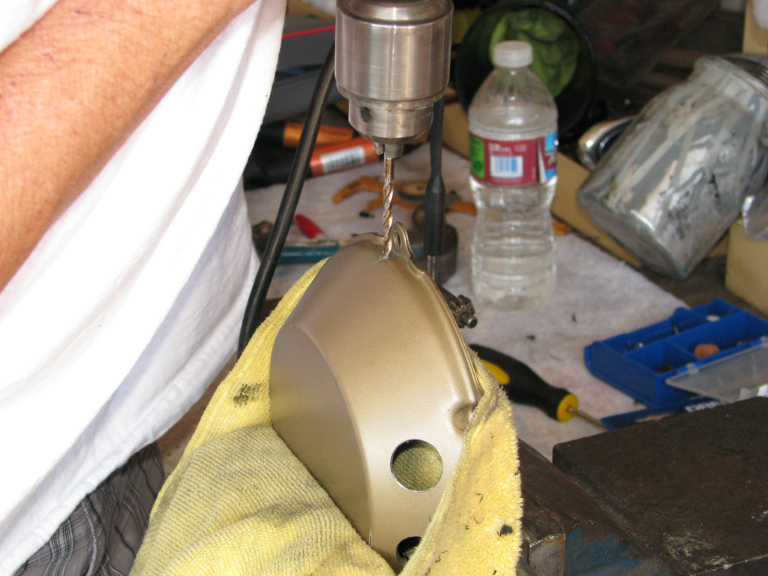
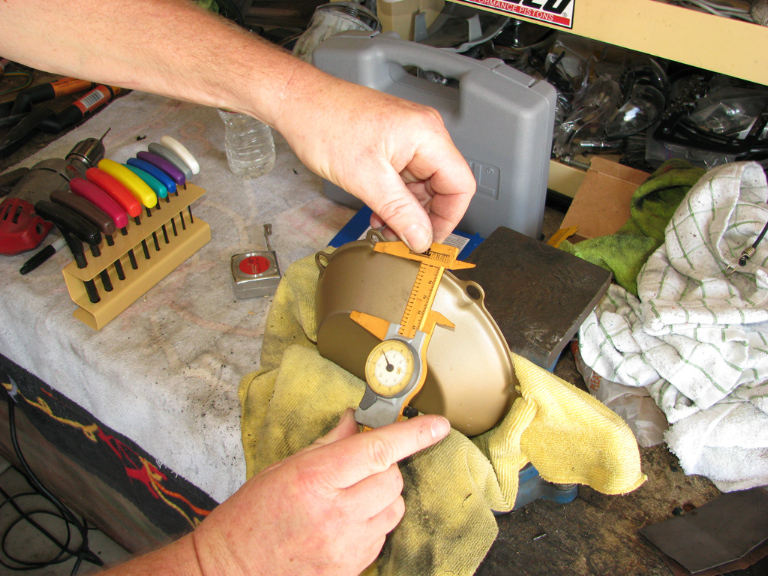
Next we measured out where the second hole needed to
go....
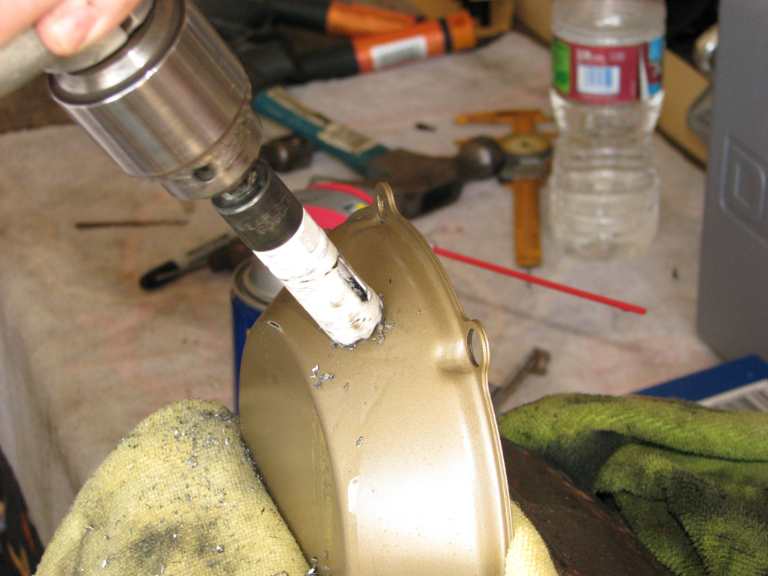
 We made sure to lubricate the hole saw while drilling
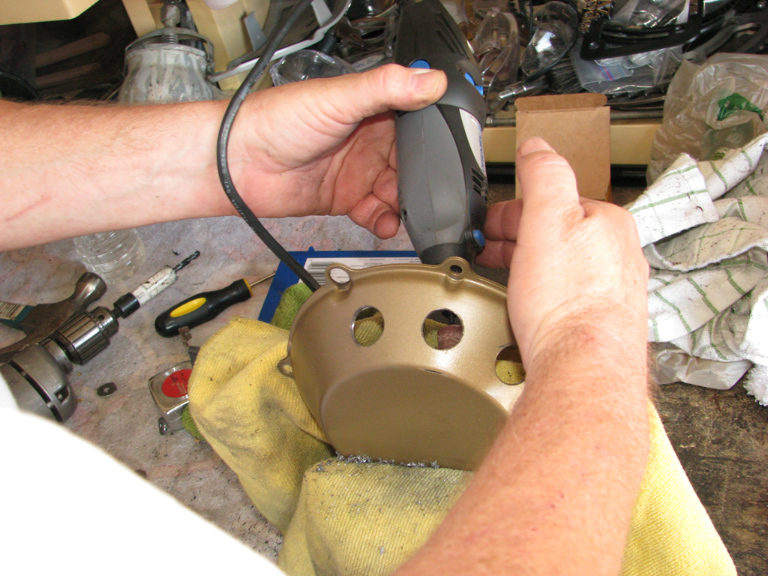 We realized that water could get in but have nowhere to go so we drilled a drain hole in the bottom.
| |
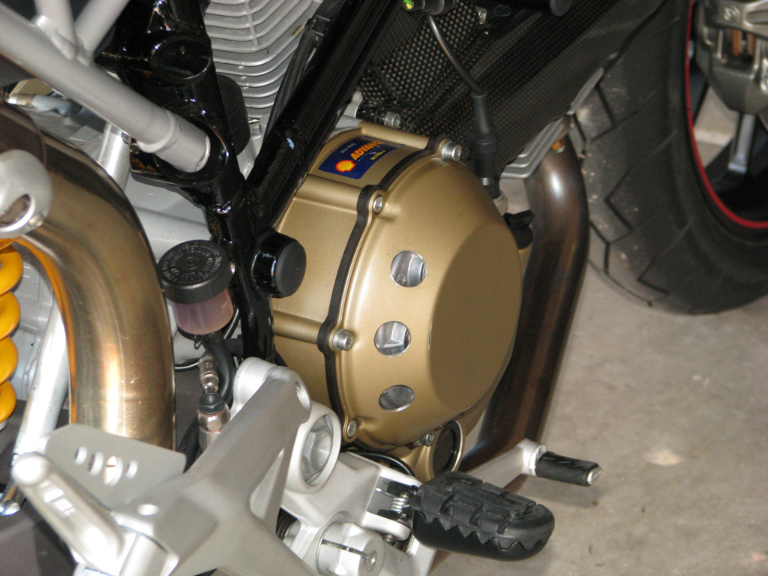
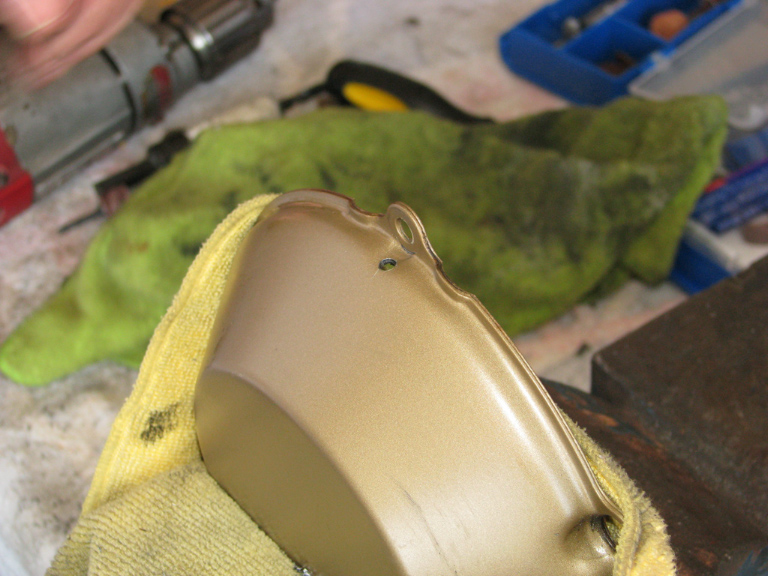 Re-installation was easy! Looks great, sounds good and hopefully runs cooler!
| |
| The original information was sourced from multiple threads on Ducati.ms | |
| 2011 * 2010 * 2009 * 2008 * 2007 * 2006 * 2005 * 2004 * Bike Tech * Videos | |
| Technical article and
photos are copyright © 1999-2010, Motoman's
Madness. Do not duplicate without express permission from
Greg Banfield aka Motoman!
|
Return to Motoman's Madness |